When it comes to choosing sustainable materials, I take my risks carefully. I have to really love the style or visual aesthetics of something to sacrifice its function. Our kitchen island is the perfect example of this – would a larger “newly built cabinet island on top of engineered stone” work better than our all-wood vintage store counter turned island? What we did was far more expensive, complicated to design (we added overhangs and stained it to match), and yes, the drawers are heavy and a little sticky. But this island brings me joy every day, and honestly I’m never angry about wear and tear or clinginess – I mentally bought it years ago. But not everything needs to be “ephemeral”, and if I’m not extremely passionate about something aesthetically, I tend to err on the side of function/durability, easy to clean, cheap, or simply “the easiest thing to do” (yes, designers make these choices all the time, too). Take our painted stairs for example – not amazing, but totally good enough and it saved us thousands of dollars patching, staining and repairing the OG wooden stairs that were in terrible condition and you couldn’t even see through the paint. This brings me to the reclaimed wood walls in the guest cottage…
Wood paneling in a cottage is one of those things I’m willing to spend more to keep or add. The shared living/kitchen space has such beautiful wood on the walls and ceiling, with a lot of imperfections (as you can see) that will be removed and sanded to make it uniform, then we’ll figure out how to stain/seal it. We are not considering painting it. We like it very much. Rooms that are already painted (old prop room and staircase/upstairs) will be repaired and painted (not primed or stained). We’re still figuring out the floors, so stay tuned.
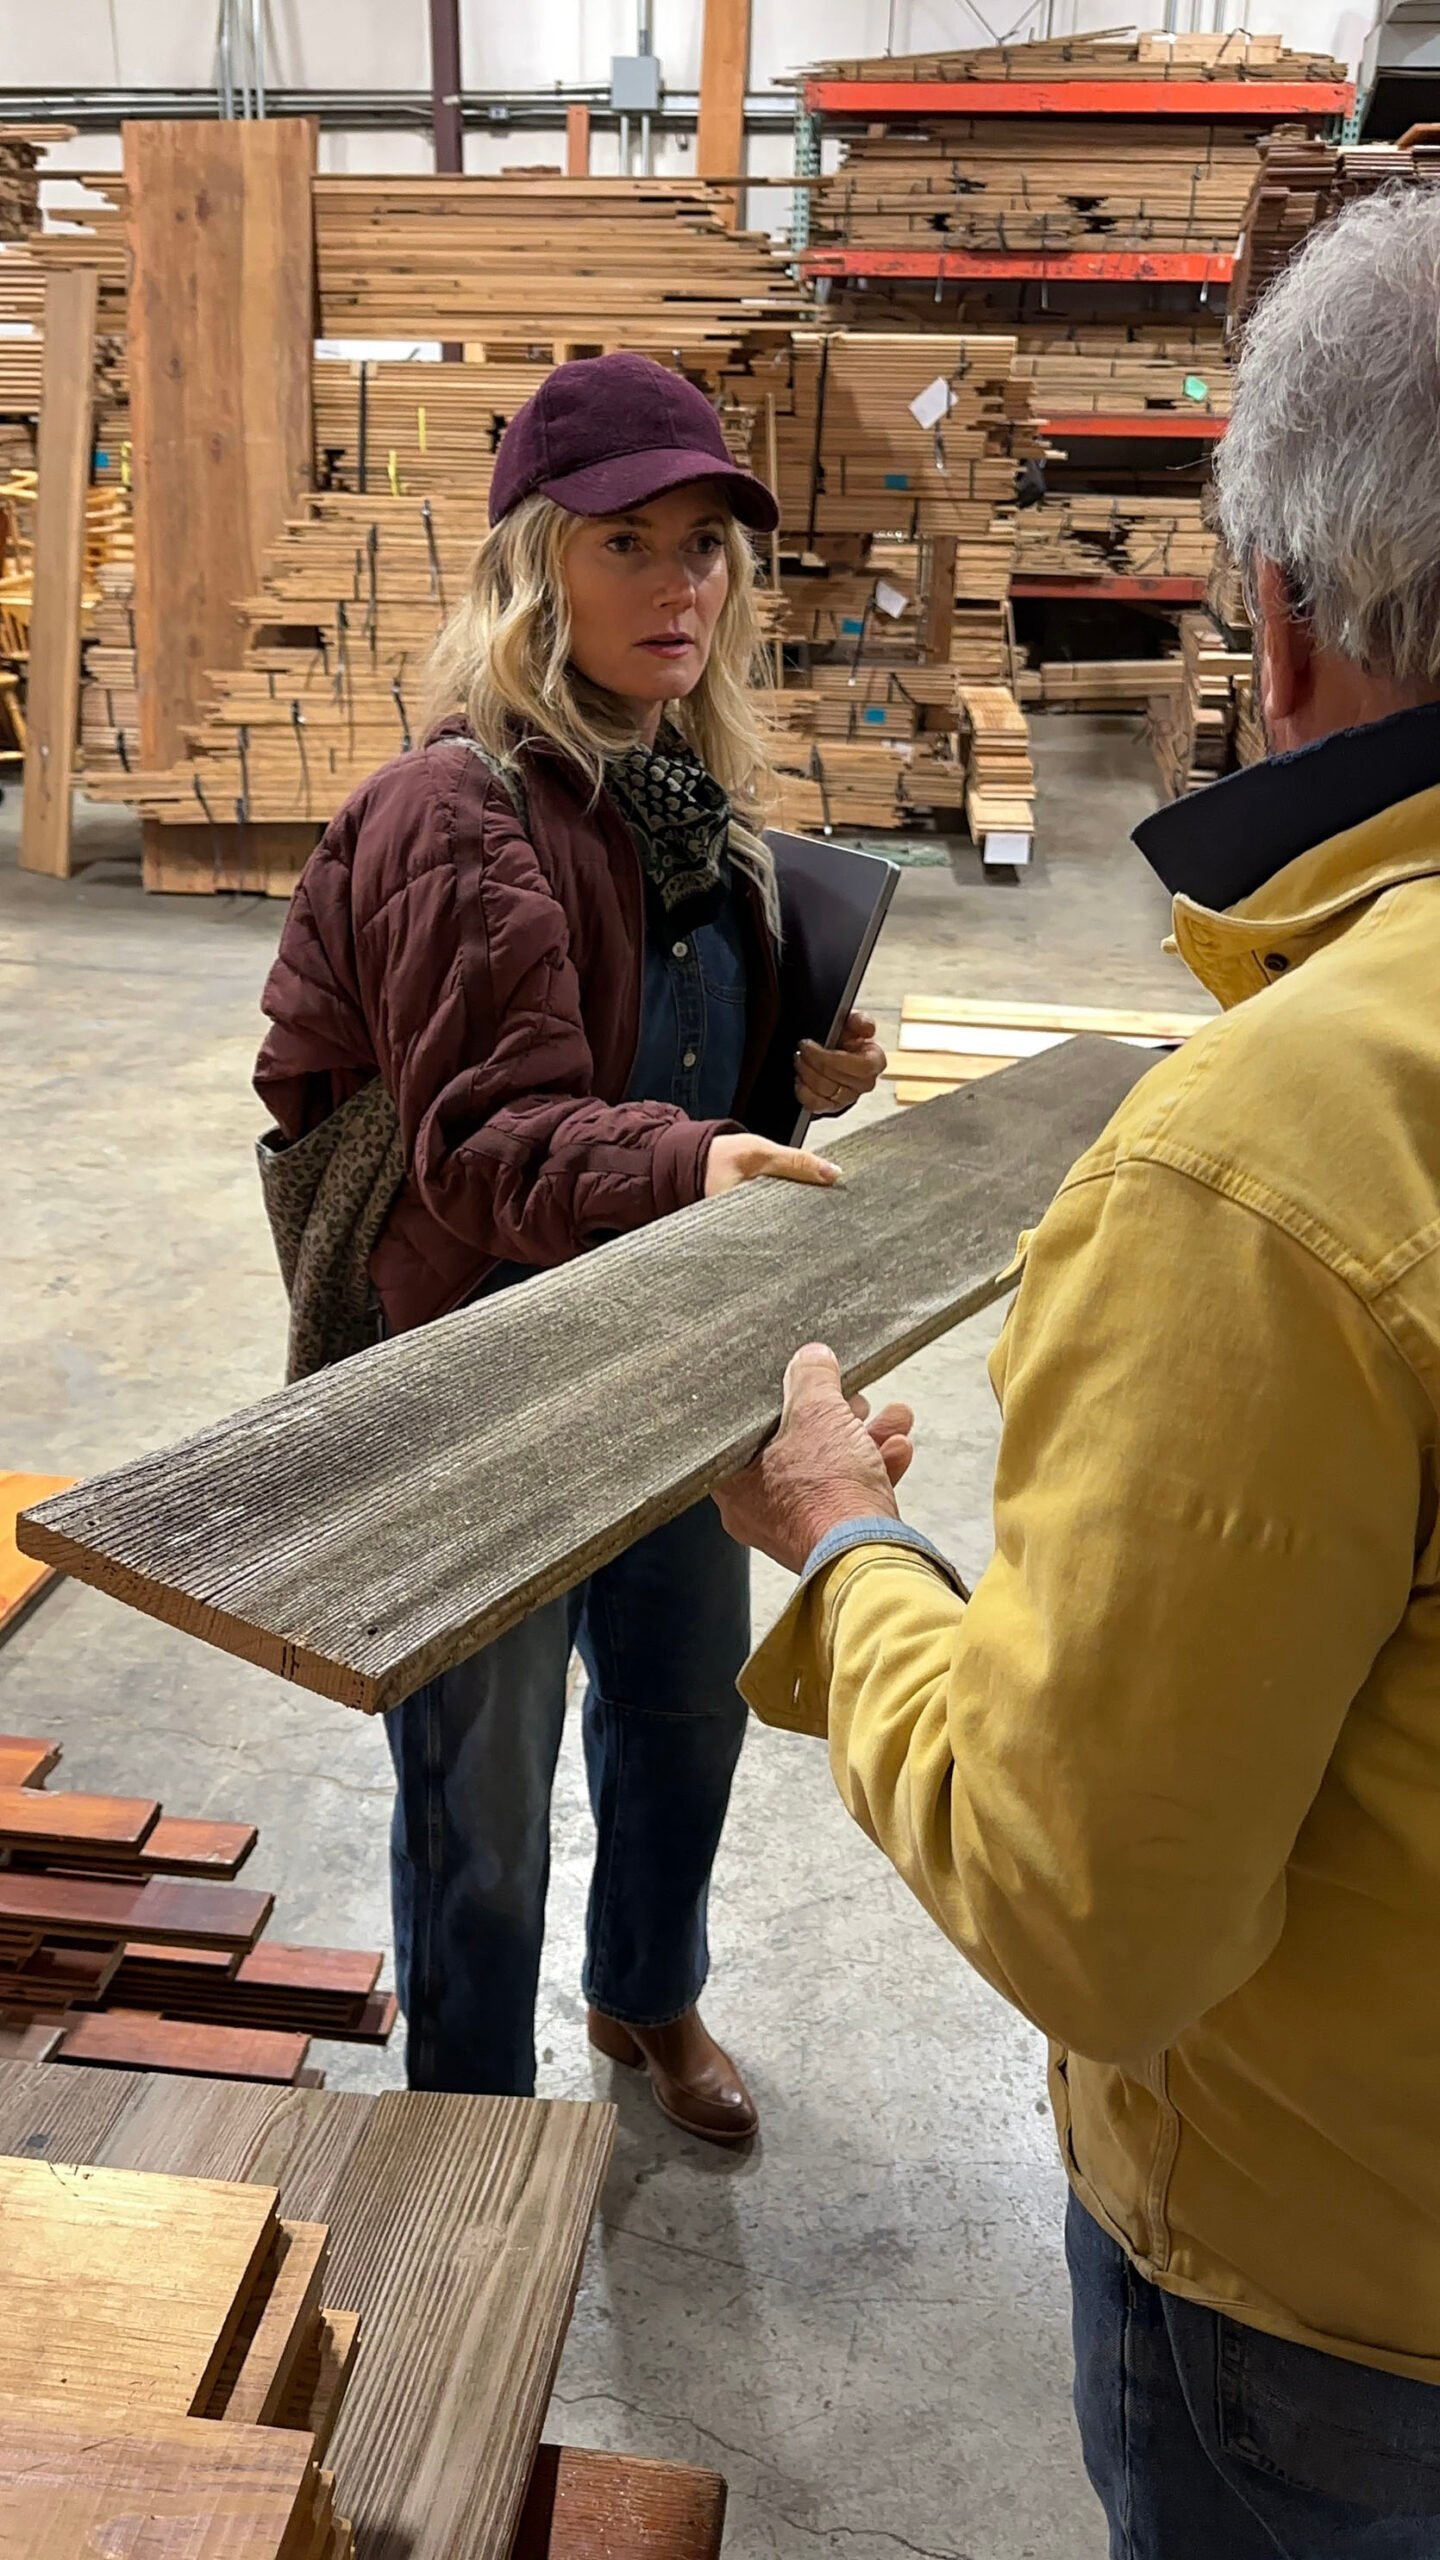
Today’s discussion is trying to get vintage or reclaimed wood to match the OG bathroom wall.
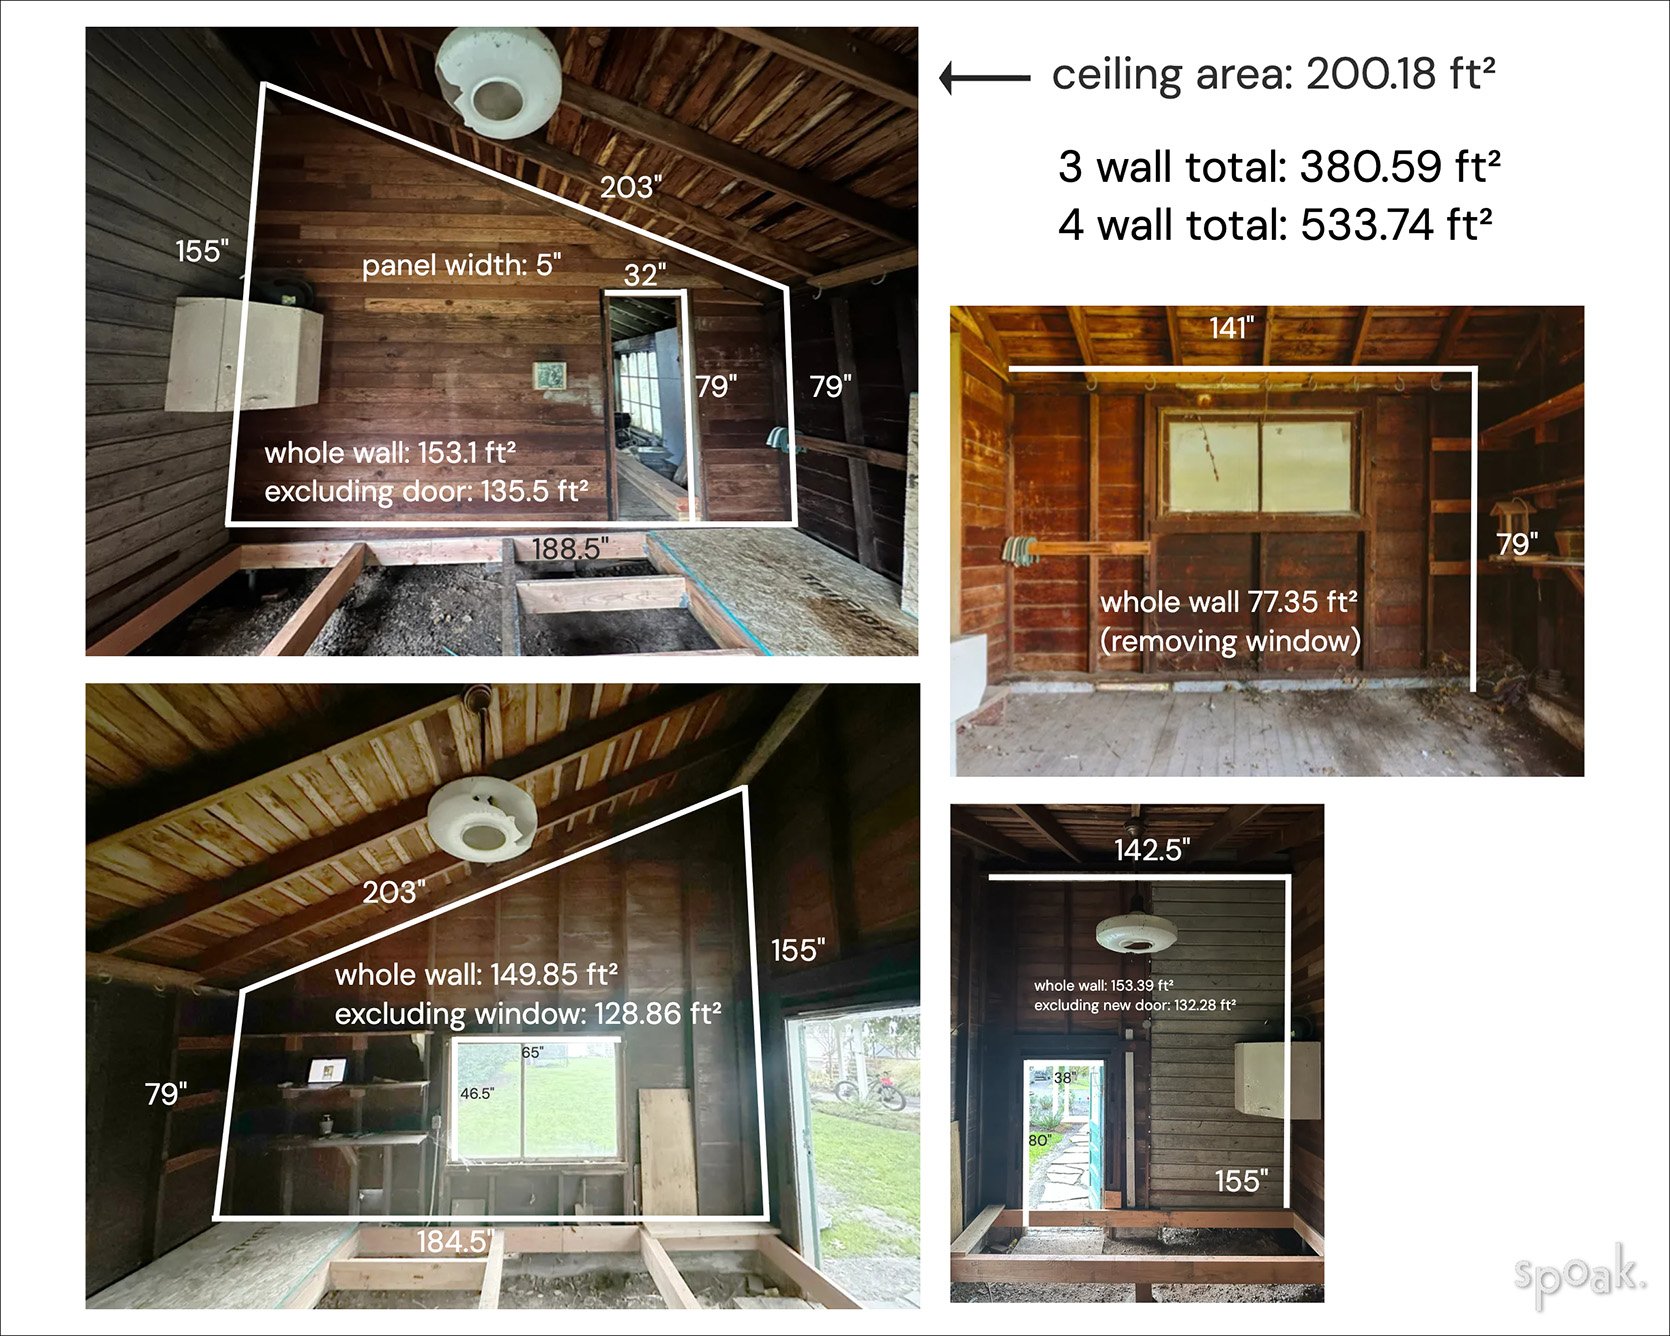
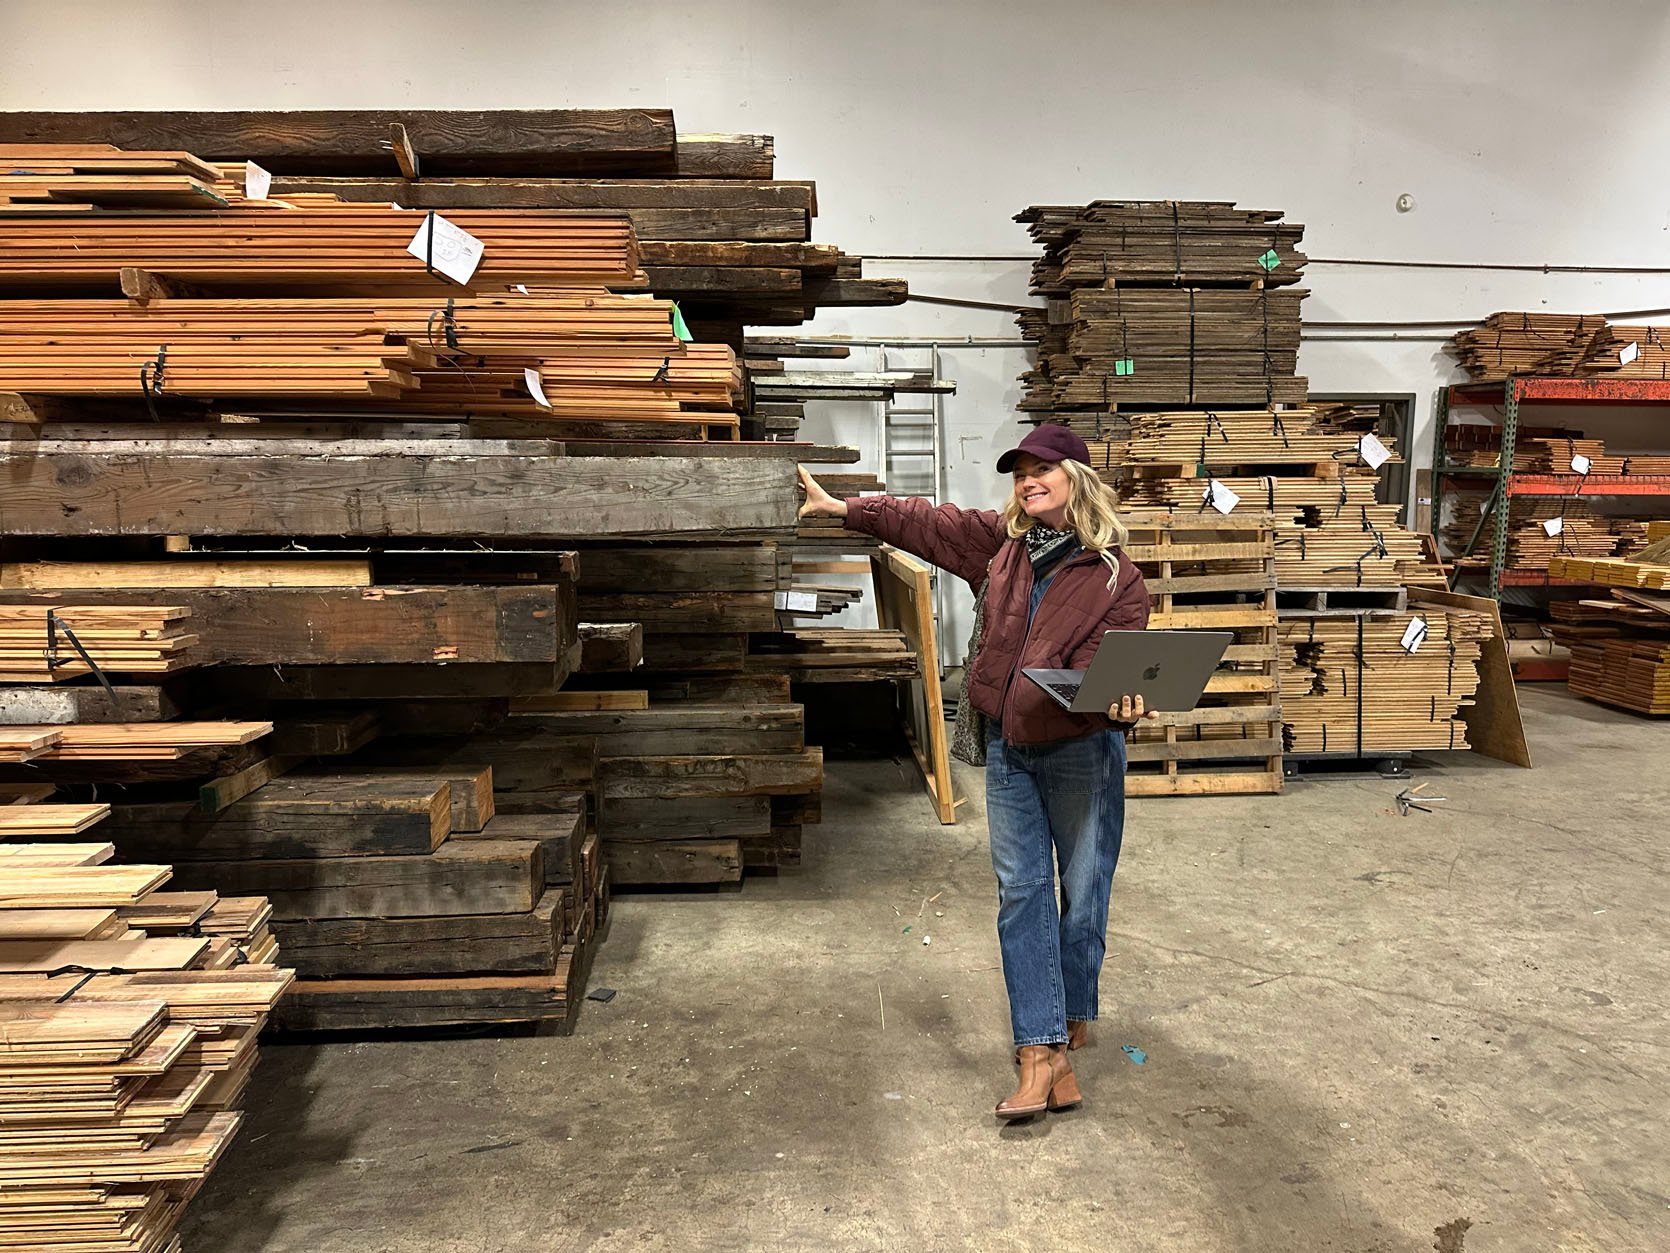
That wall is very beautiful. It’s 5″ tongue and groove (likely old growth cedar or some other softwood species), and although there is a lot of variation, I think once it gets some TLC, it will look pretty similar. This is exactly what I want. but it is Only Finished wall. The other three walls are open and need insulation, electrical etc and will then need fresh paneling – old or new.
So the question became: Is it possible to match the OG paneling on that wall to the other three walls and the ceiling? Or is this a fool’s errand? Will it cost more than a new simpler language and grooves? Or should we partner up with Stuga and apply driftwood to the walls like we did in our favorite room at the River House? I’d like to do something more interesting (and admittedly, new wood would be much less attractive), but I also don’t want to defy common sense to do it (and we’ll have several other big moments here anyway – i.e., the much-discussed “outhouse” and handmade tile by yours truly).
Let’s talk numbers: How much do we really need?
The existing paneled wall is approximately 153 ft² (not including the door, it is approximately 135). If we are able to match that wall and panel to the remaining three edges, we will need about 380 ft² with more age. If we included the roof, we would need to add an additional 200 ft² to the order (plus a little more age). If we redo the entire room in cheaper paneling or if we are unable to match the existing and want to start over by getting all matching again, we will need about 735 ft² (so let’s call it 750 ft²). So in short, only the three walls and the ceiling will be about 600 ft², but the entire room and ceiling will be 750 ft².
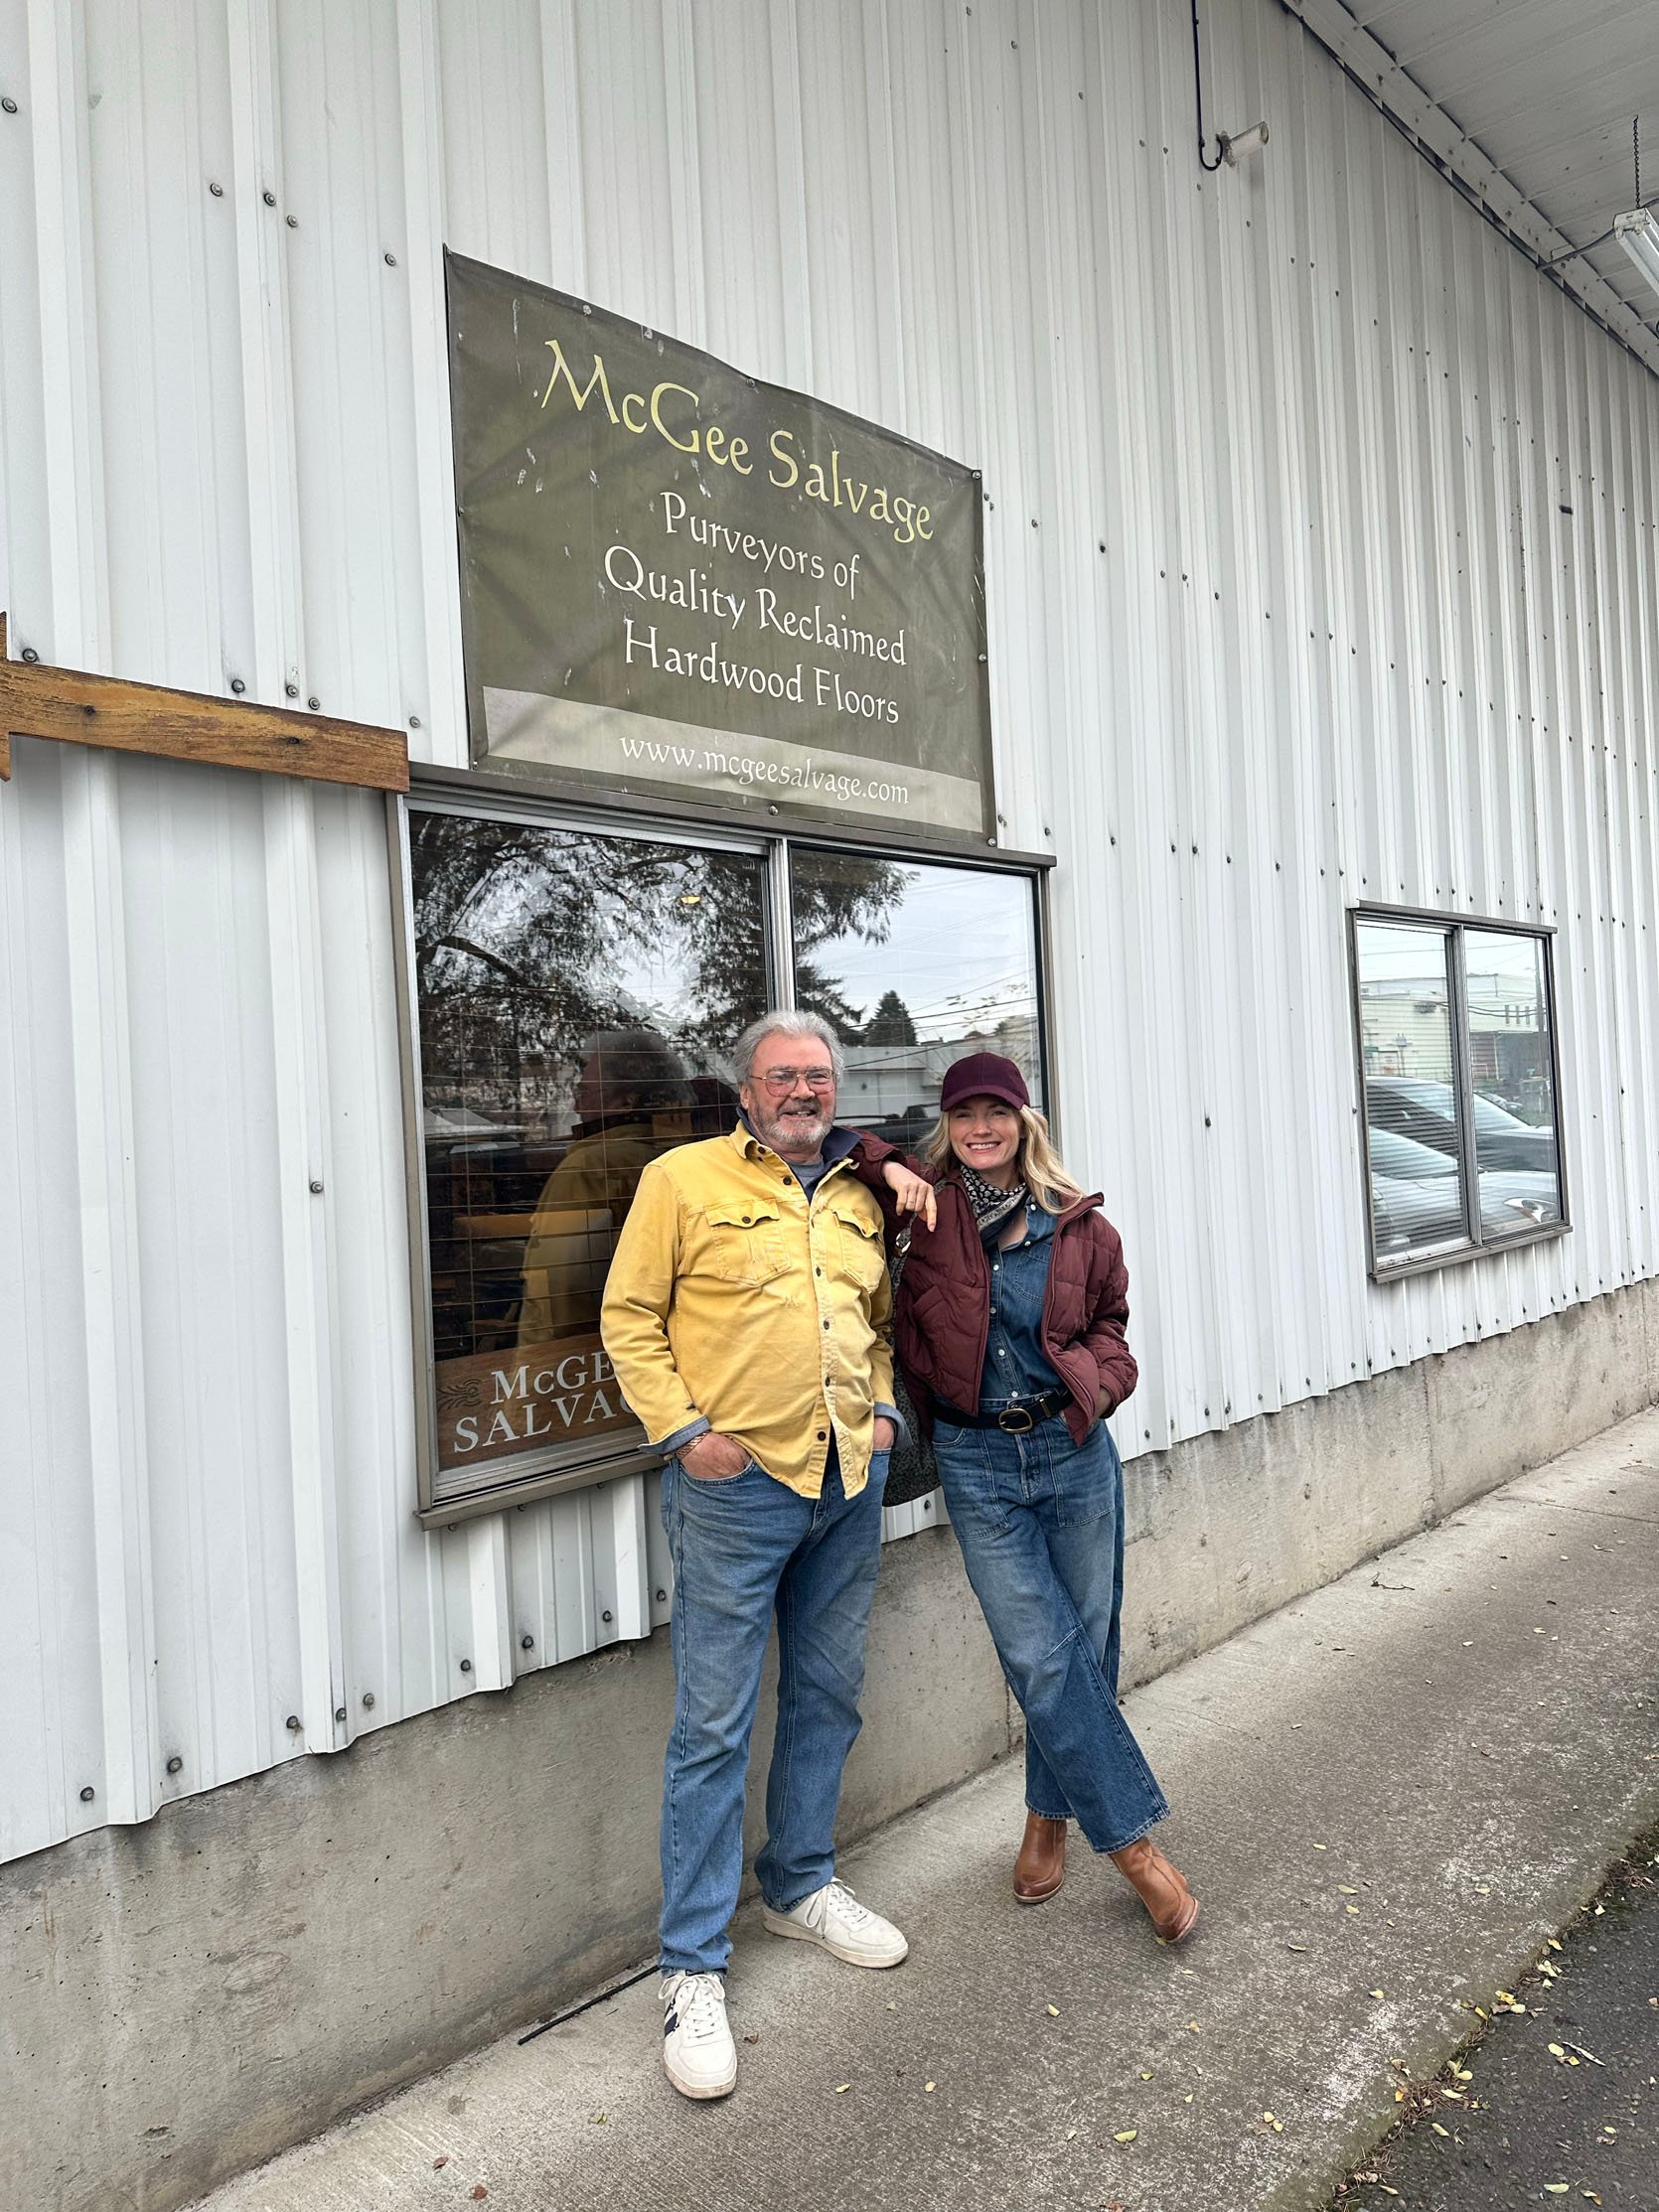
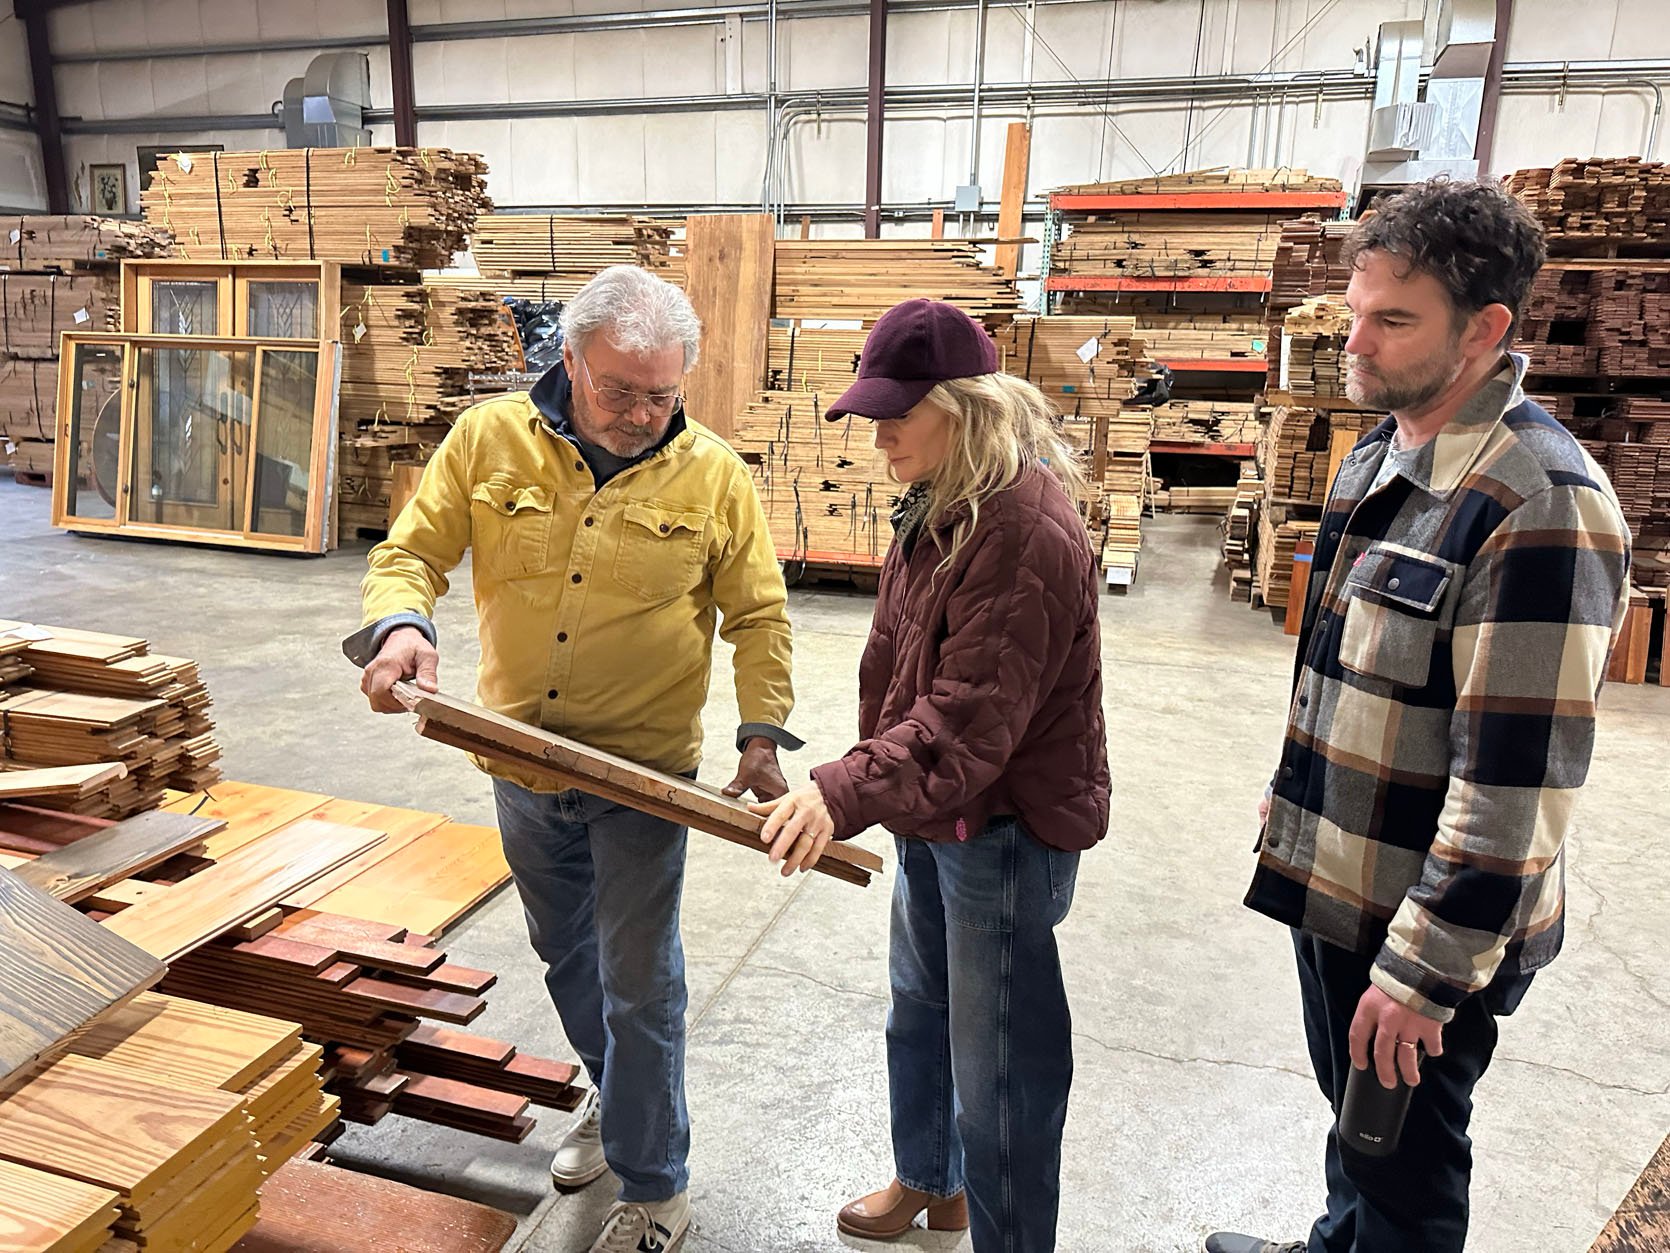
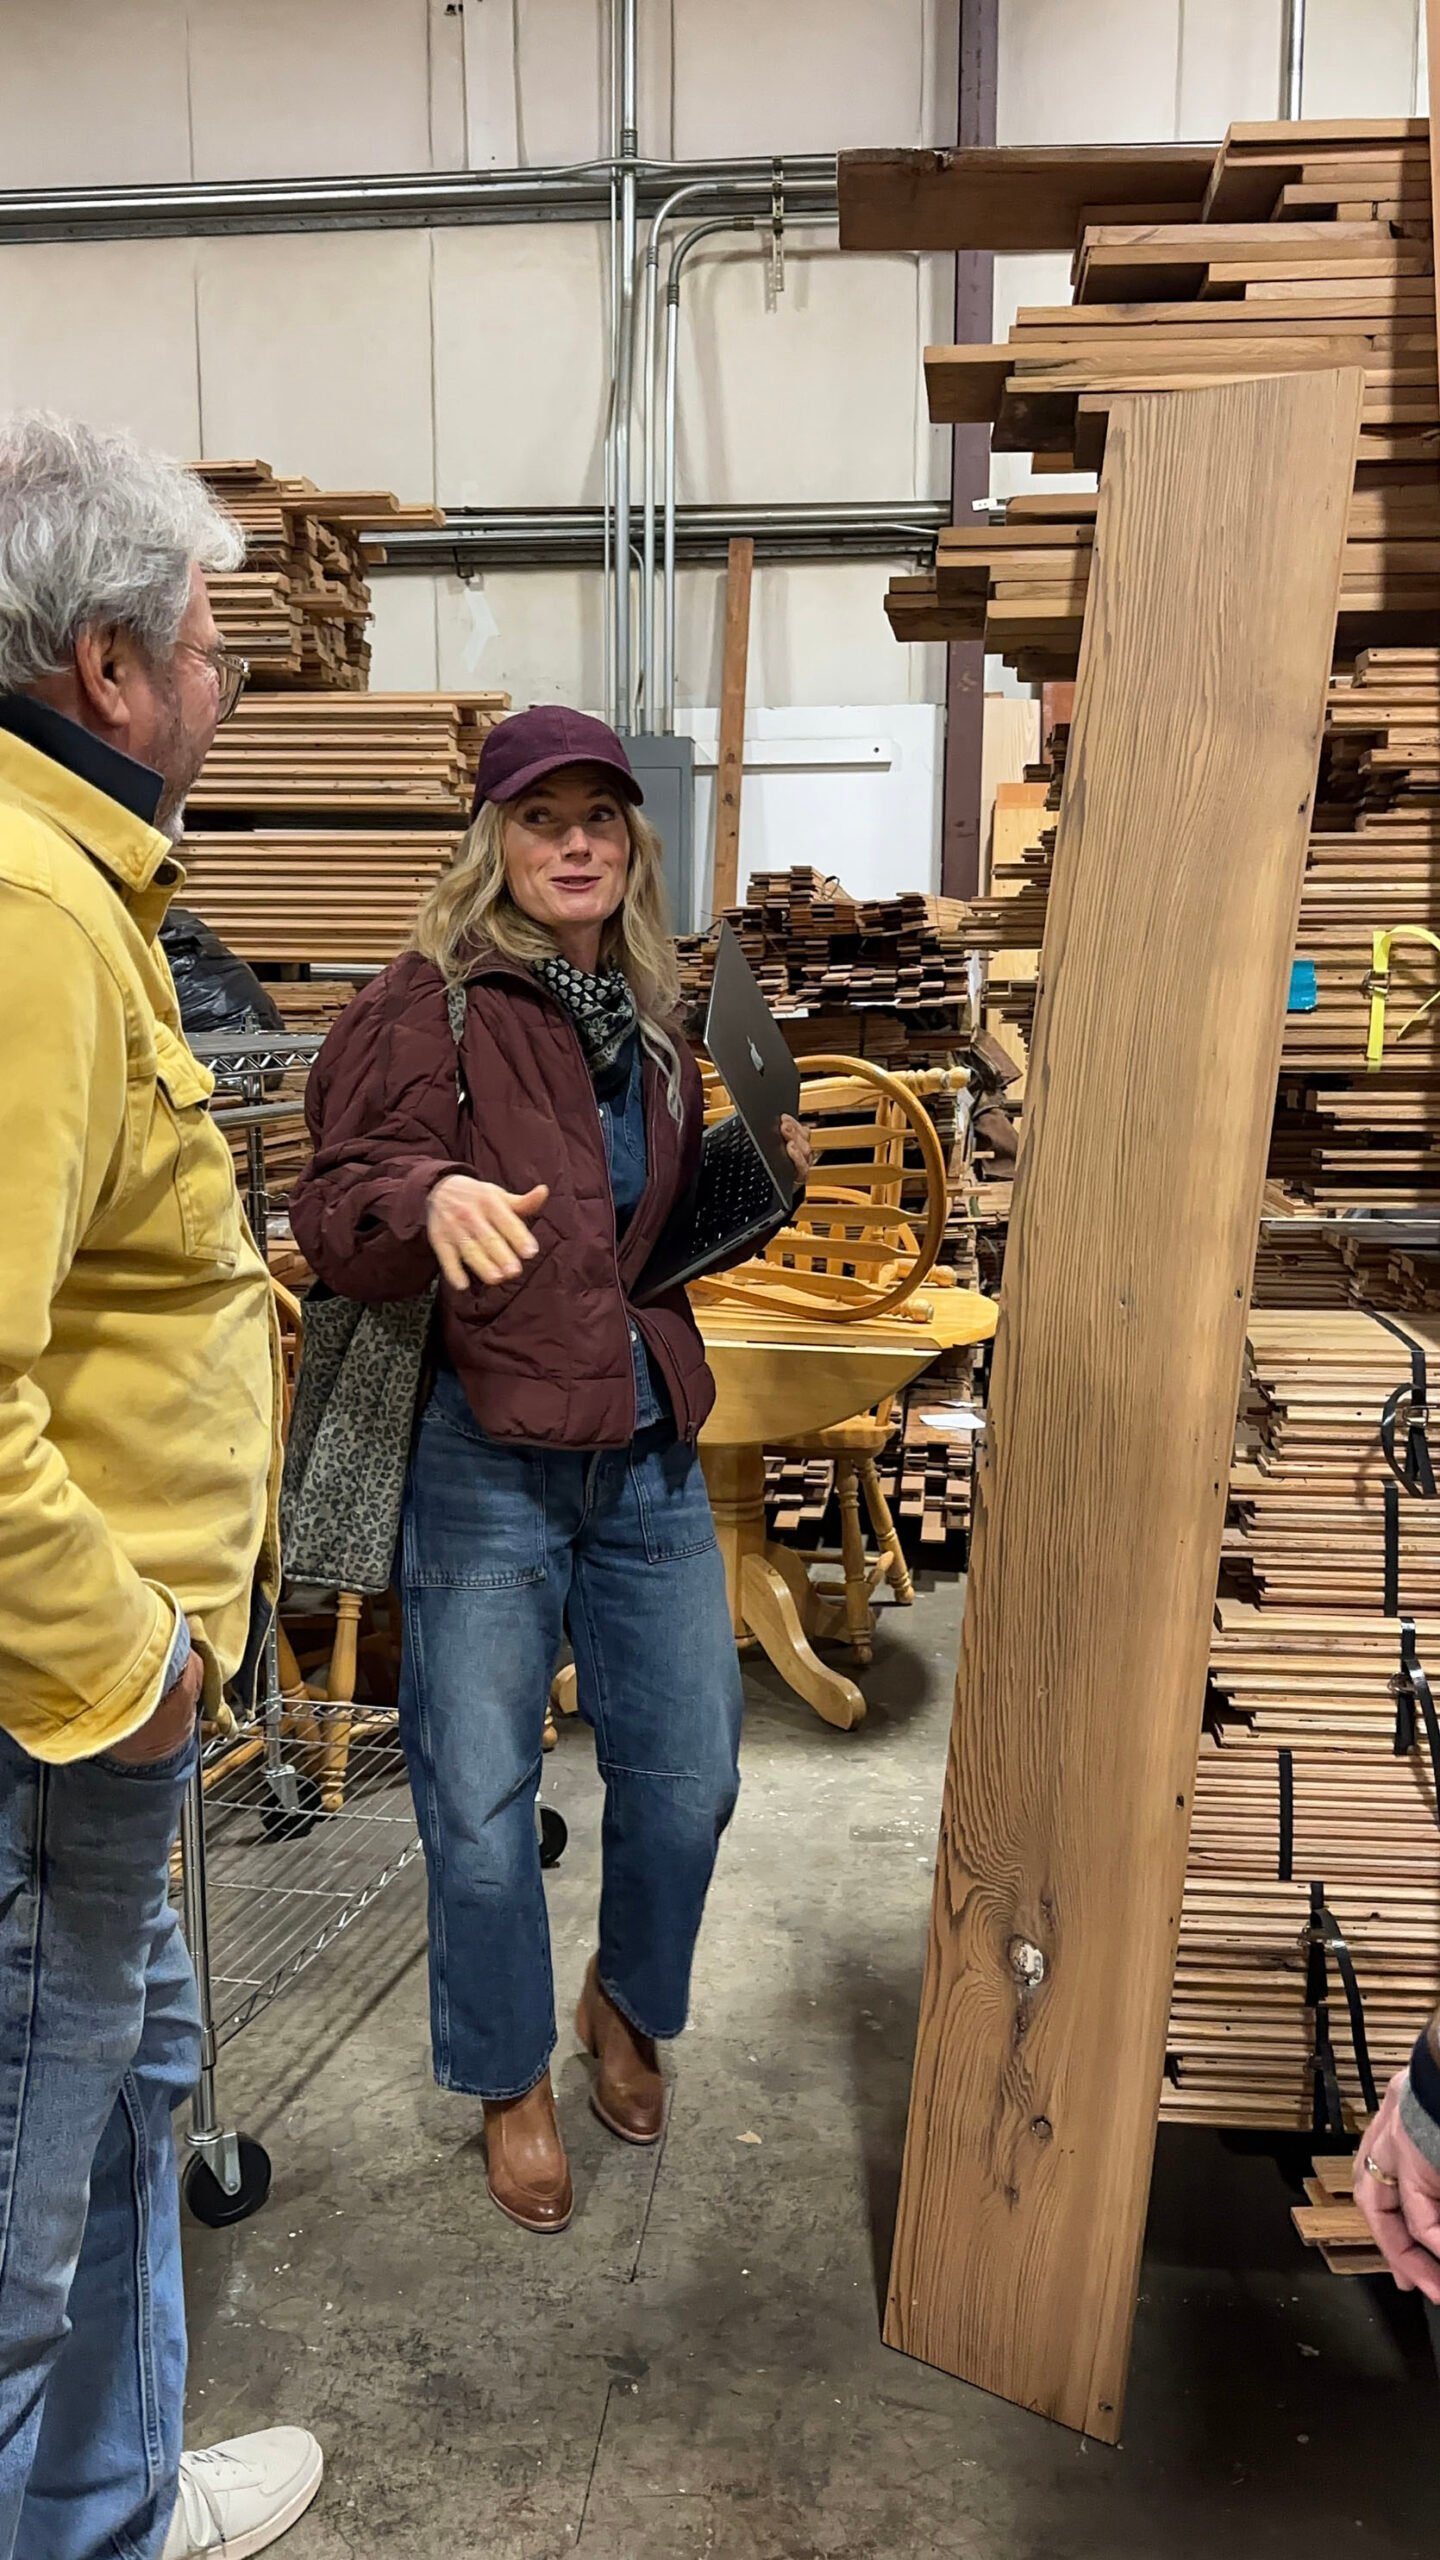
That’s a good amount of square footage. We needed to do some research, so Brian and I went mcgee rescueWhich is the highest in the city. And the owner, Toby, was amazing.
Toby Parsons. I love nothing more than meeting people who have been experts in something for decades and who just have a wealth of experience and knowledge. When we visited, we discovered reclaimed wood floors throughout the entire downstairs. We honestly haven’t fined anything that makes sense (yet) but are still exploring it. We are planning on painting the floors in a pattern (since the walls are all wood) so it made sense for us to spend the money on reclaimed wood floors.
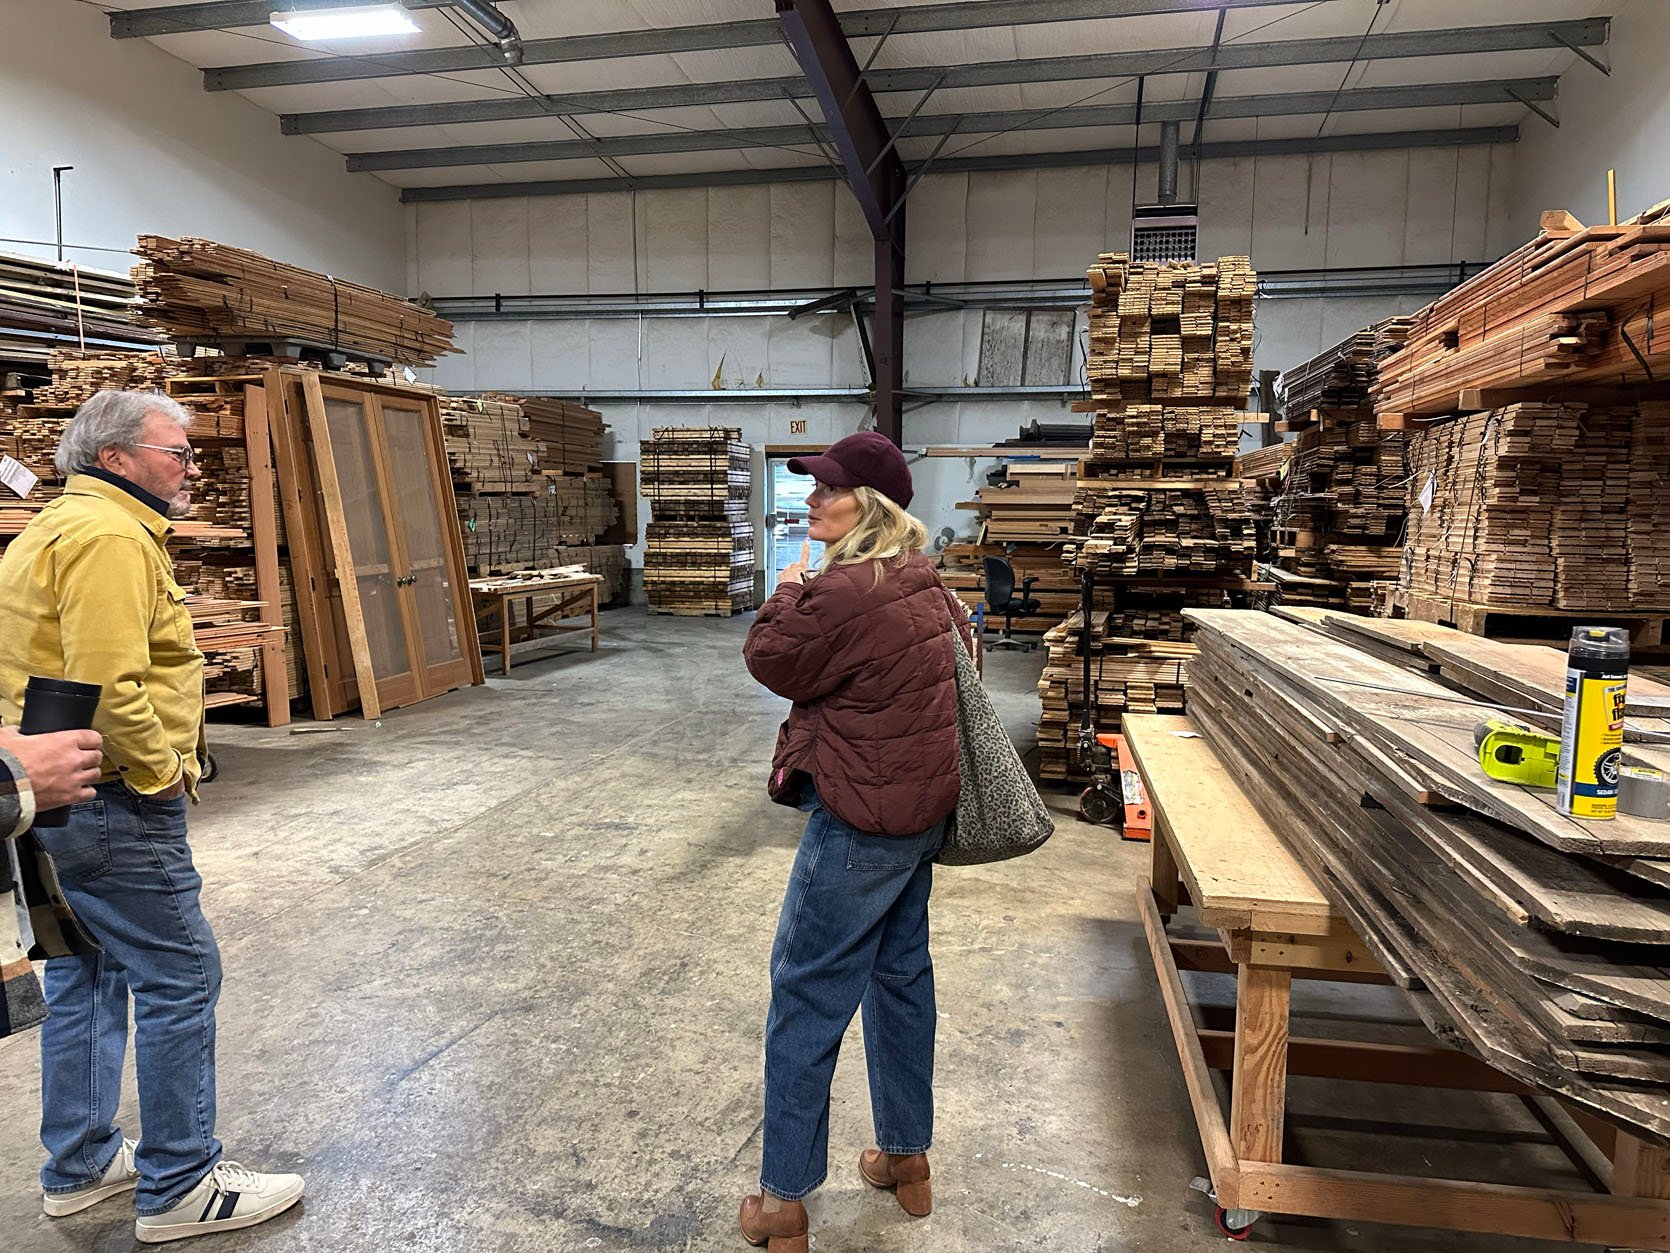
Their list was huge and quite intimidating, but very exciting. He had a lot and everything had a story. But we weren’t sure if one would directly match the wall we wanted to keep.
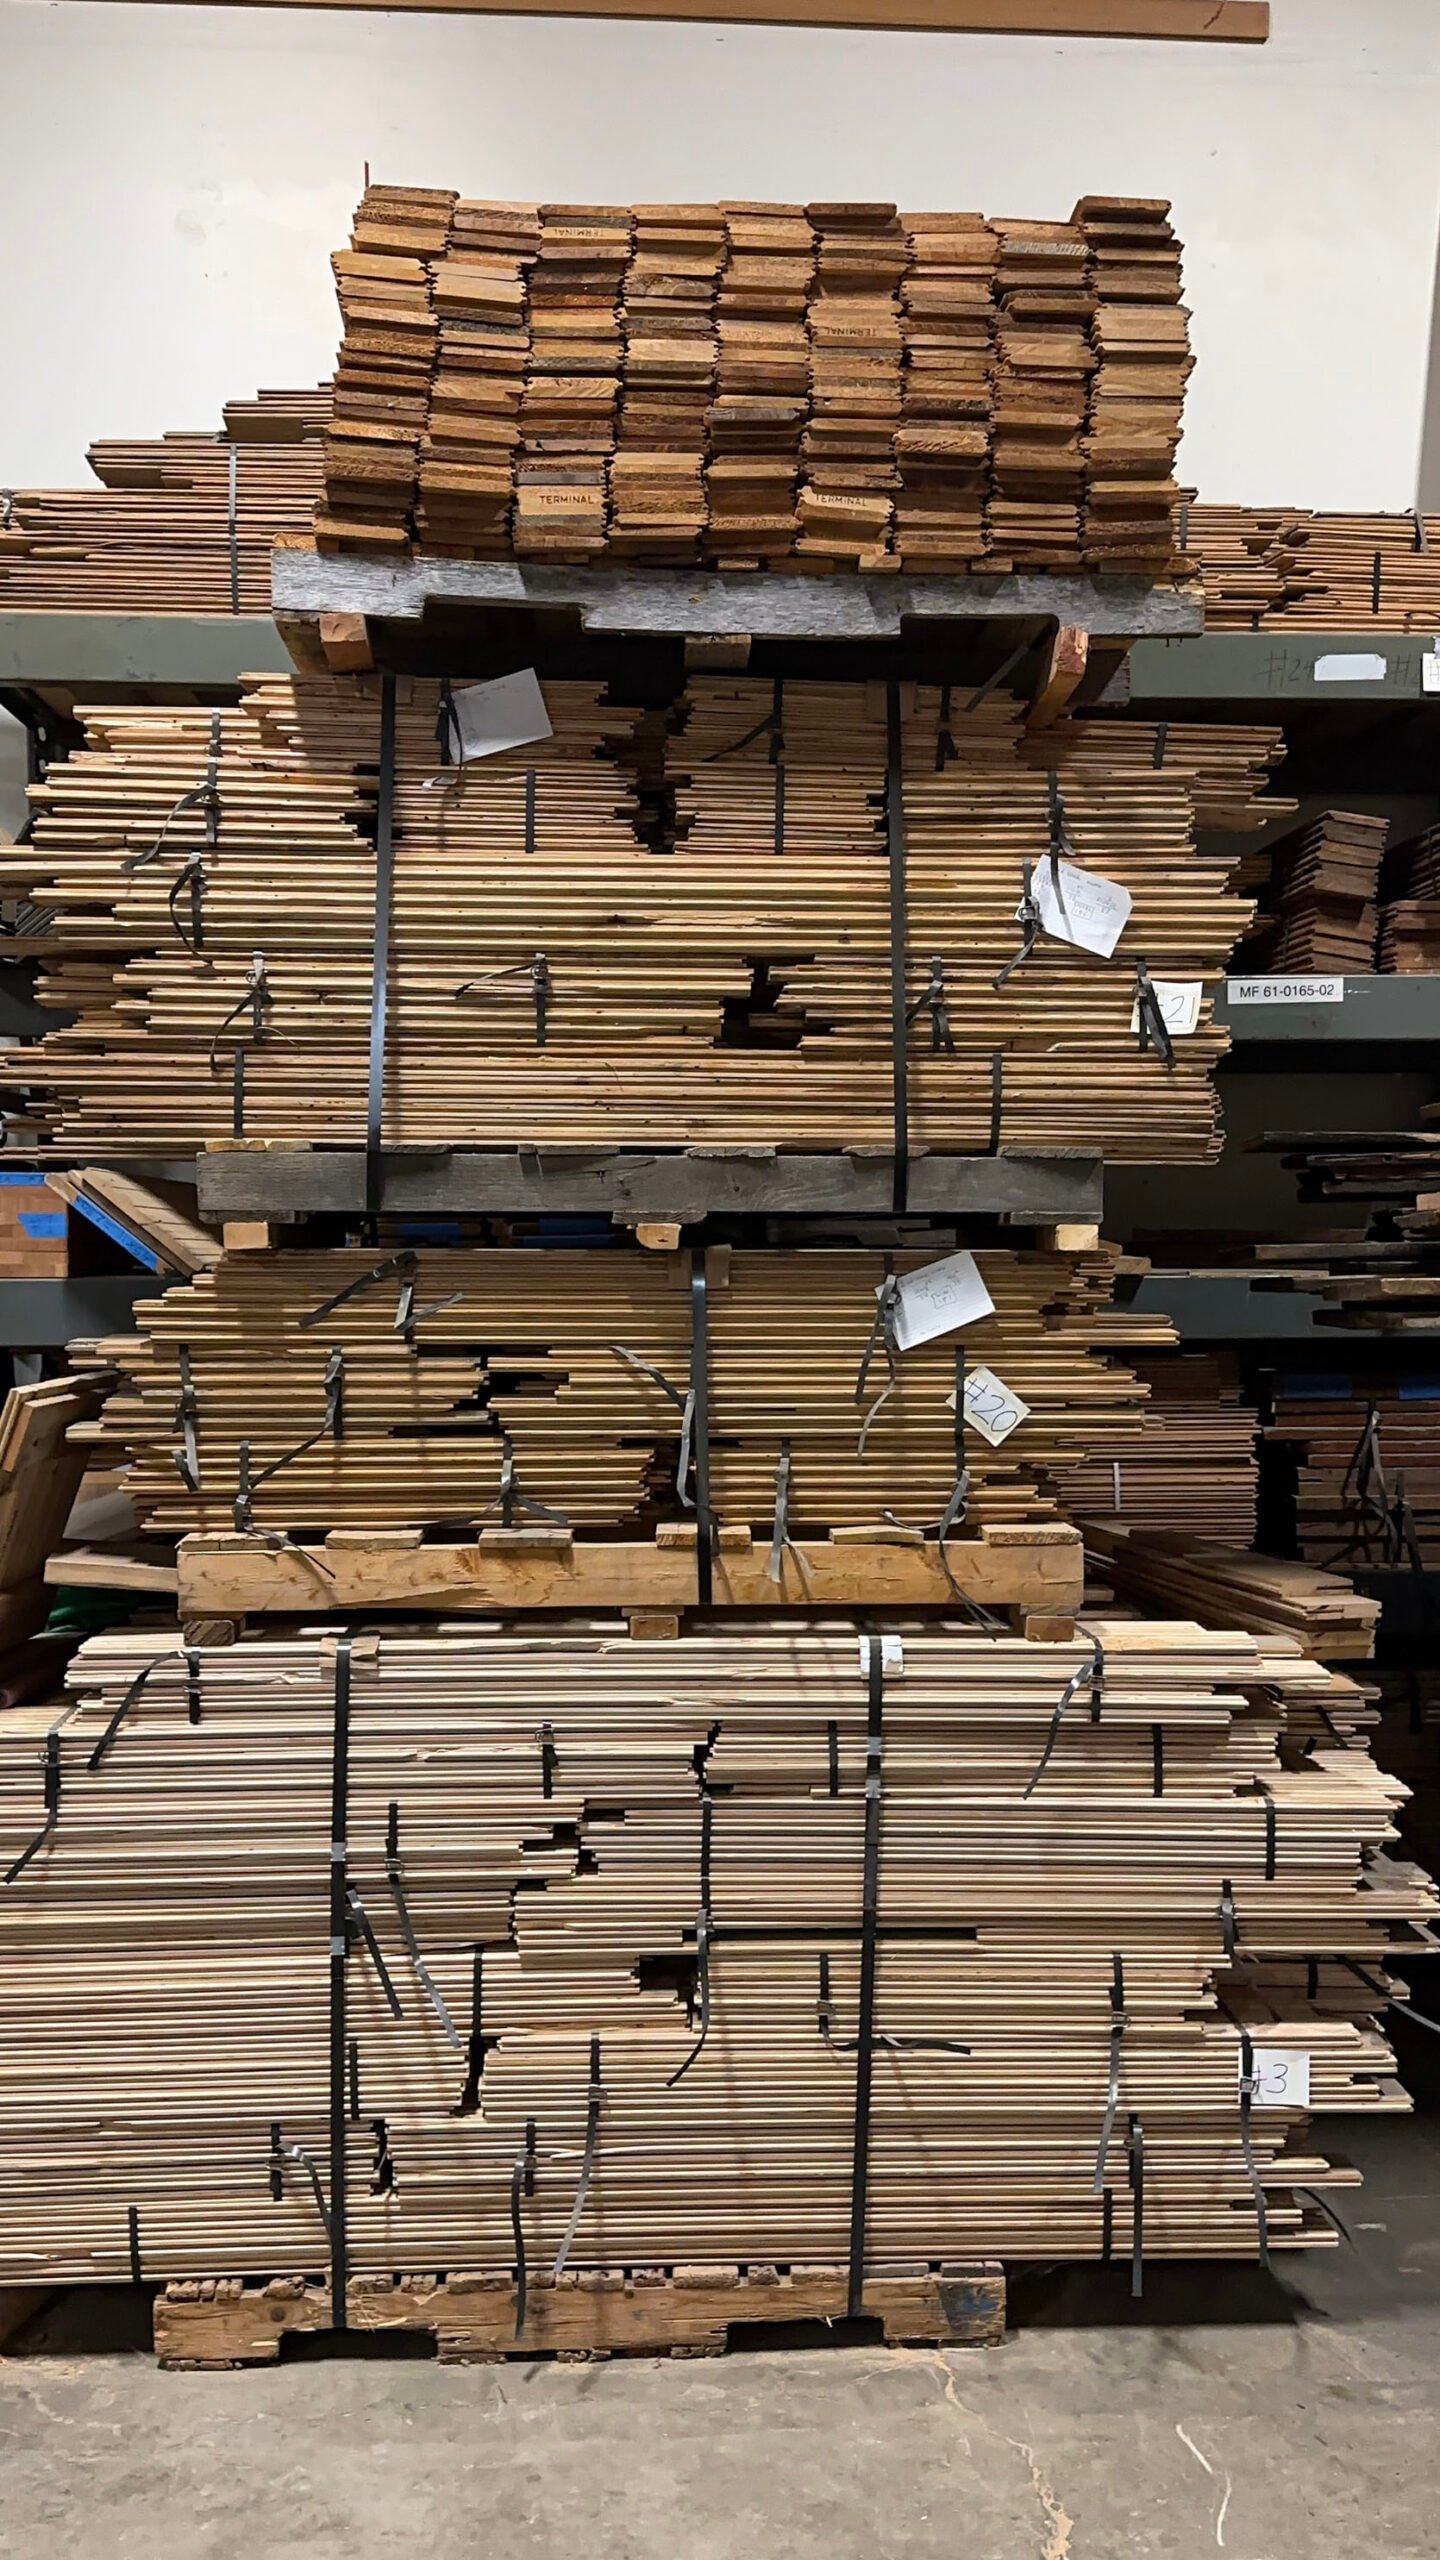
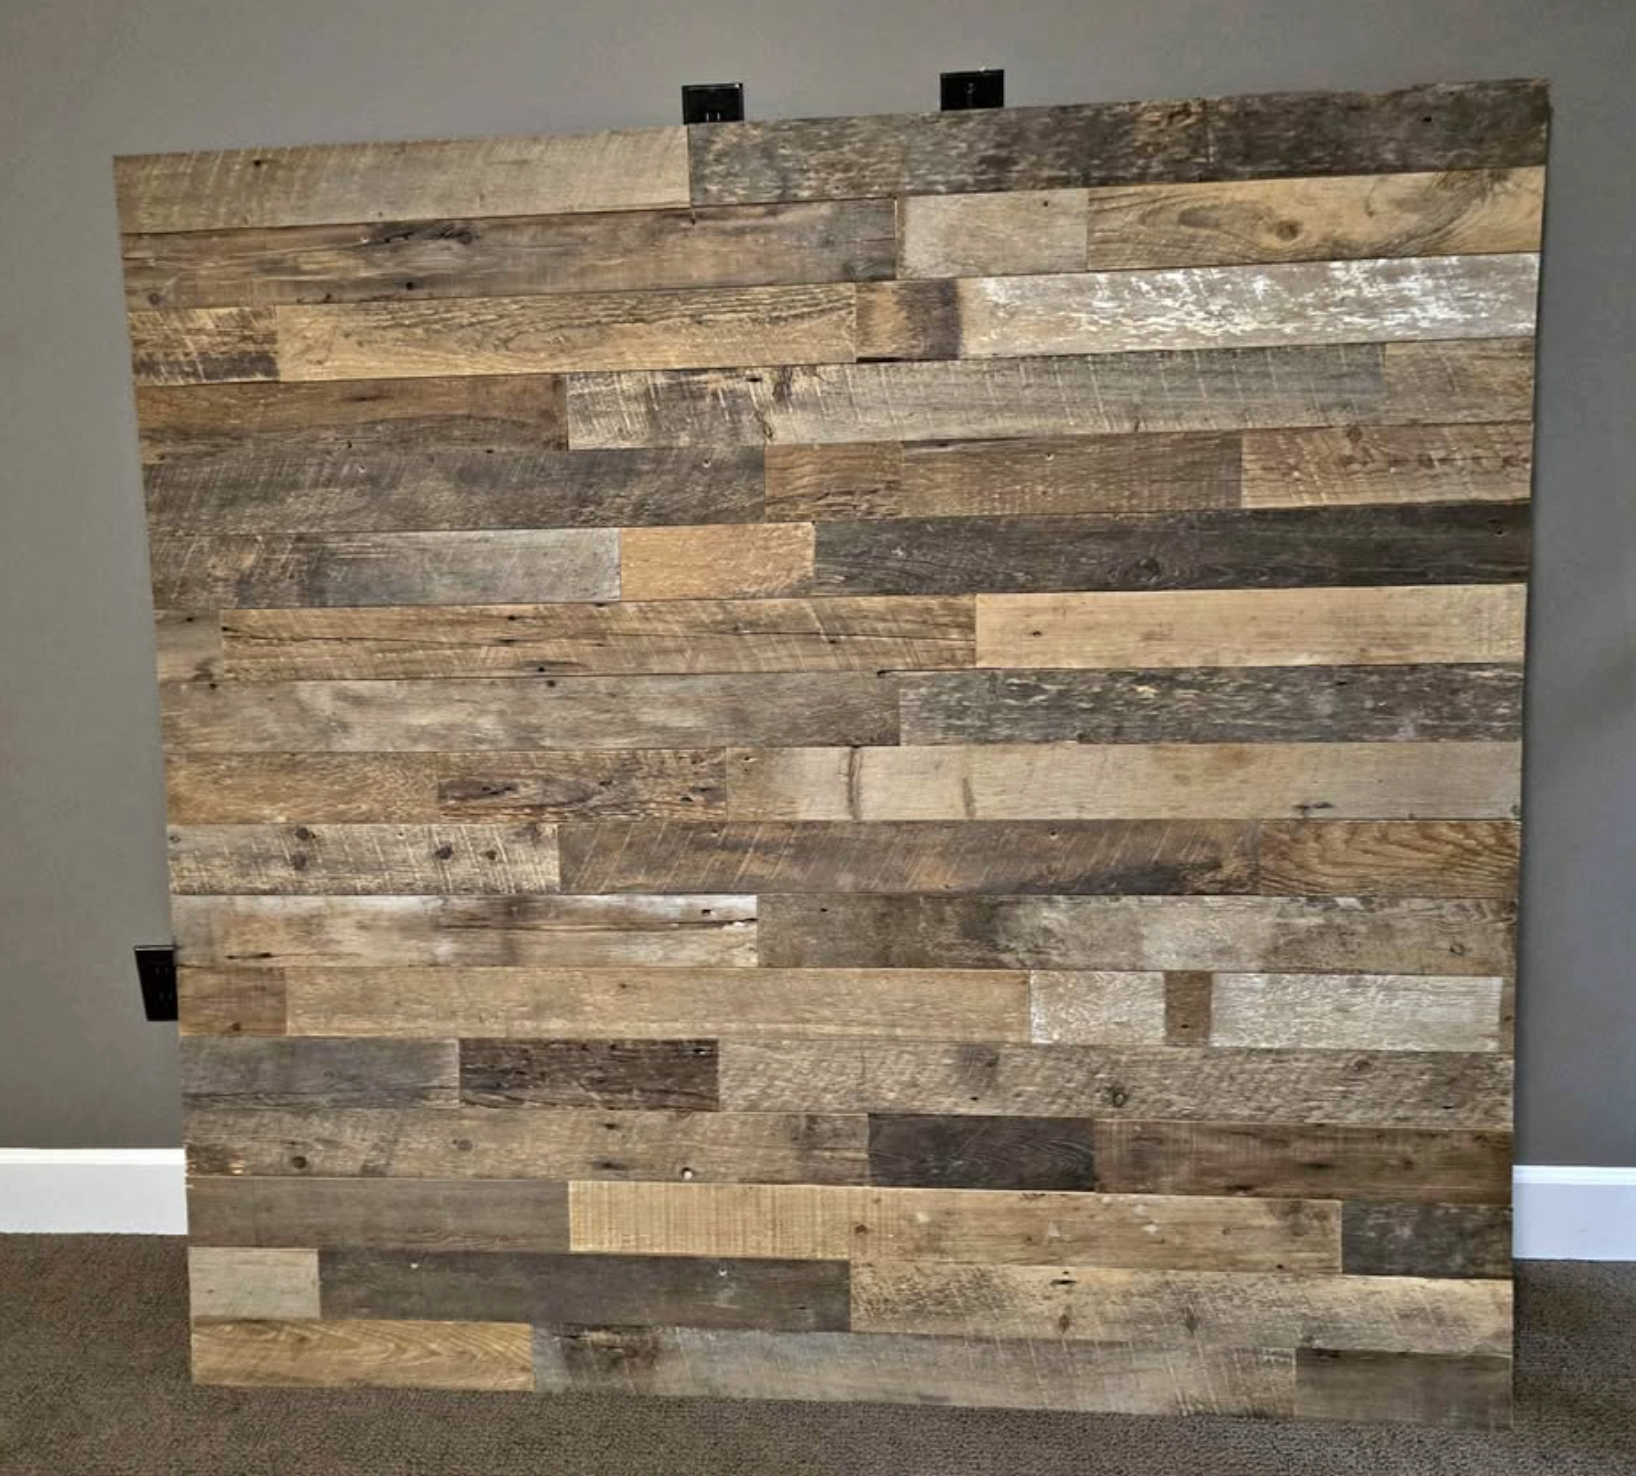
The thing is, I don’t want a wall of “reclaimed wood” – you know what I’m talking about (see below). I want it to be uniform and have a very smooth grain. I want something like a kitchen/living room in the cottage. I don’t want it to be a mix of different tones and brown woods looking too jumbled together.
What I don’t want:
Now, it’s not that I never liked that look, but it’s not what I was drawn to for this project. Frankly, I don’t even need reclaimed wood to get what I want (which is just a beautiful wood covered room), but I think it’s a good way to use what we have, and then yes, use what the Earth has already created. Reclaimed wood naturally has more character (especially old wood which has such beautiful grain and ring patterns). Not to mention good energy – if you’re into that kind of thing (which I am). I want wood that can live a happy life – either happily in a lovingly tended forest or in a former barn where life lived (which is why I buy all my wood flooring for my home from here). Zena Forest Products -Joe, wait, I just realized I should probably consider this project!). That doesn’t mean I won’t use new wood from Lowe’s where it makes sense (that’s what we did at the Art Barn and Garage), but I like anything that has more of a story than surprises no one. I’m not too weird about it, don’t worry, but I’m telling you that it makes a difference in how your home feels when you have old or storied pieces and finishes. Okay, enough of the tempting stuff!!! Back to wood!
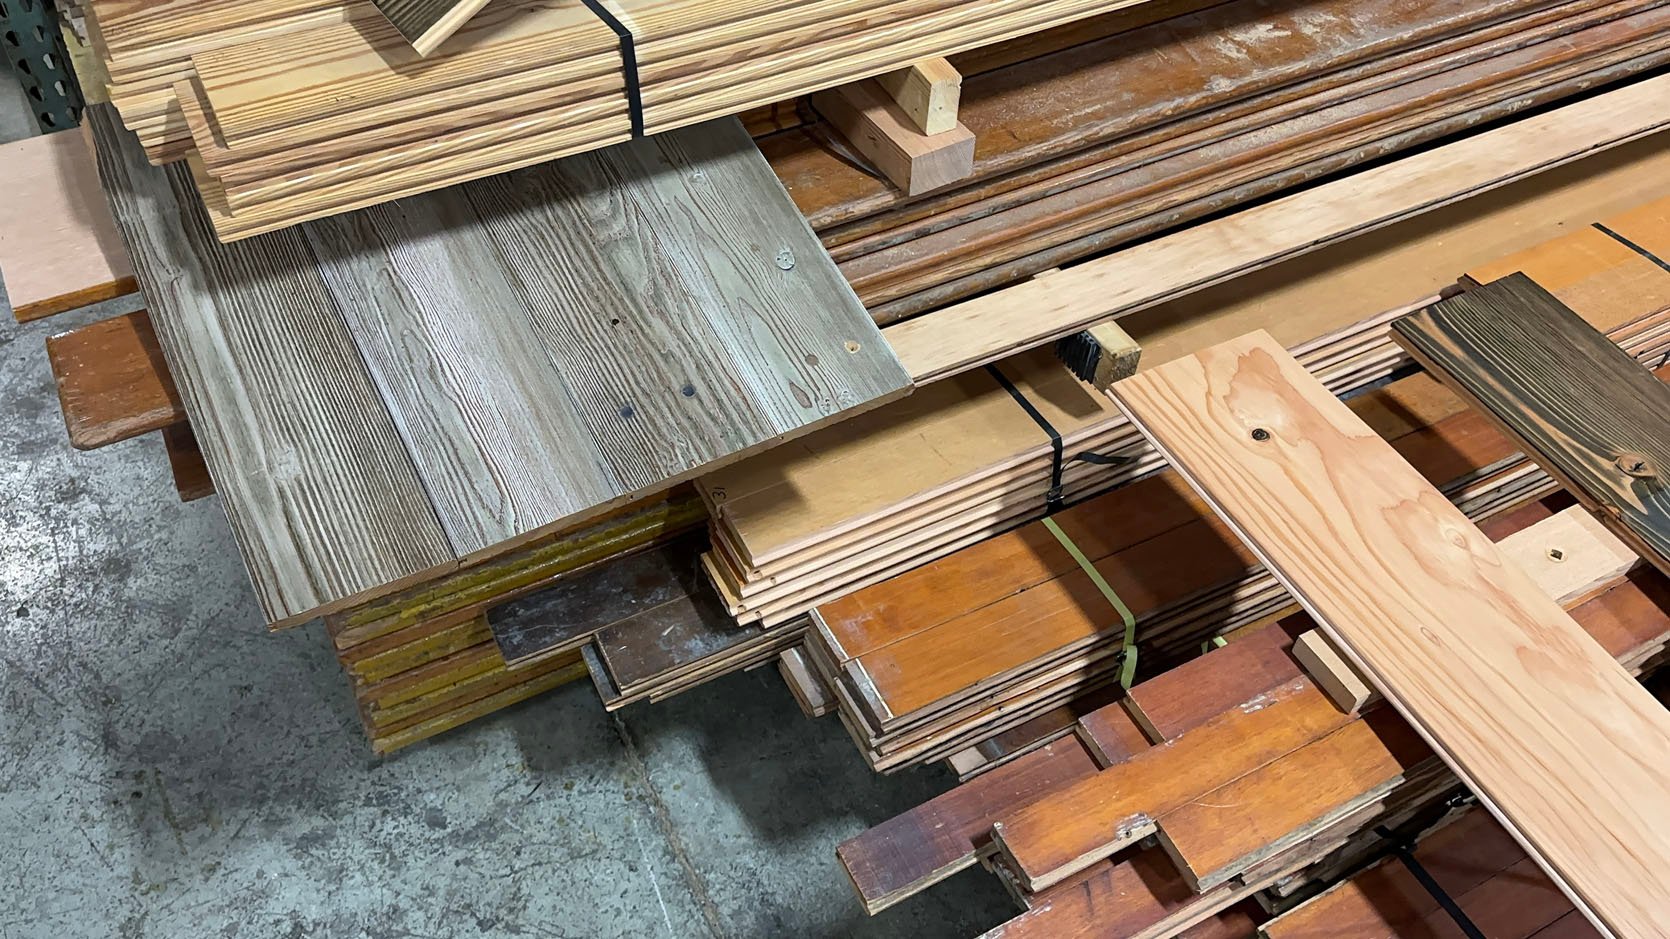
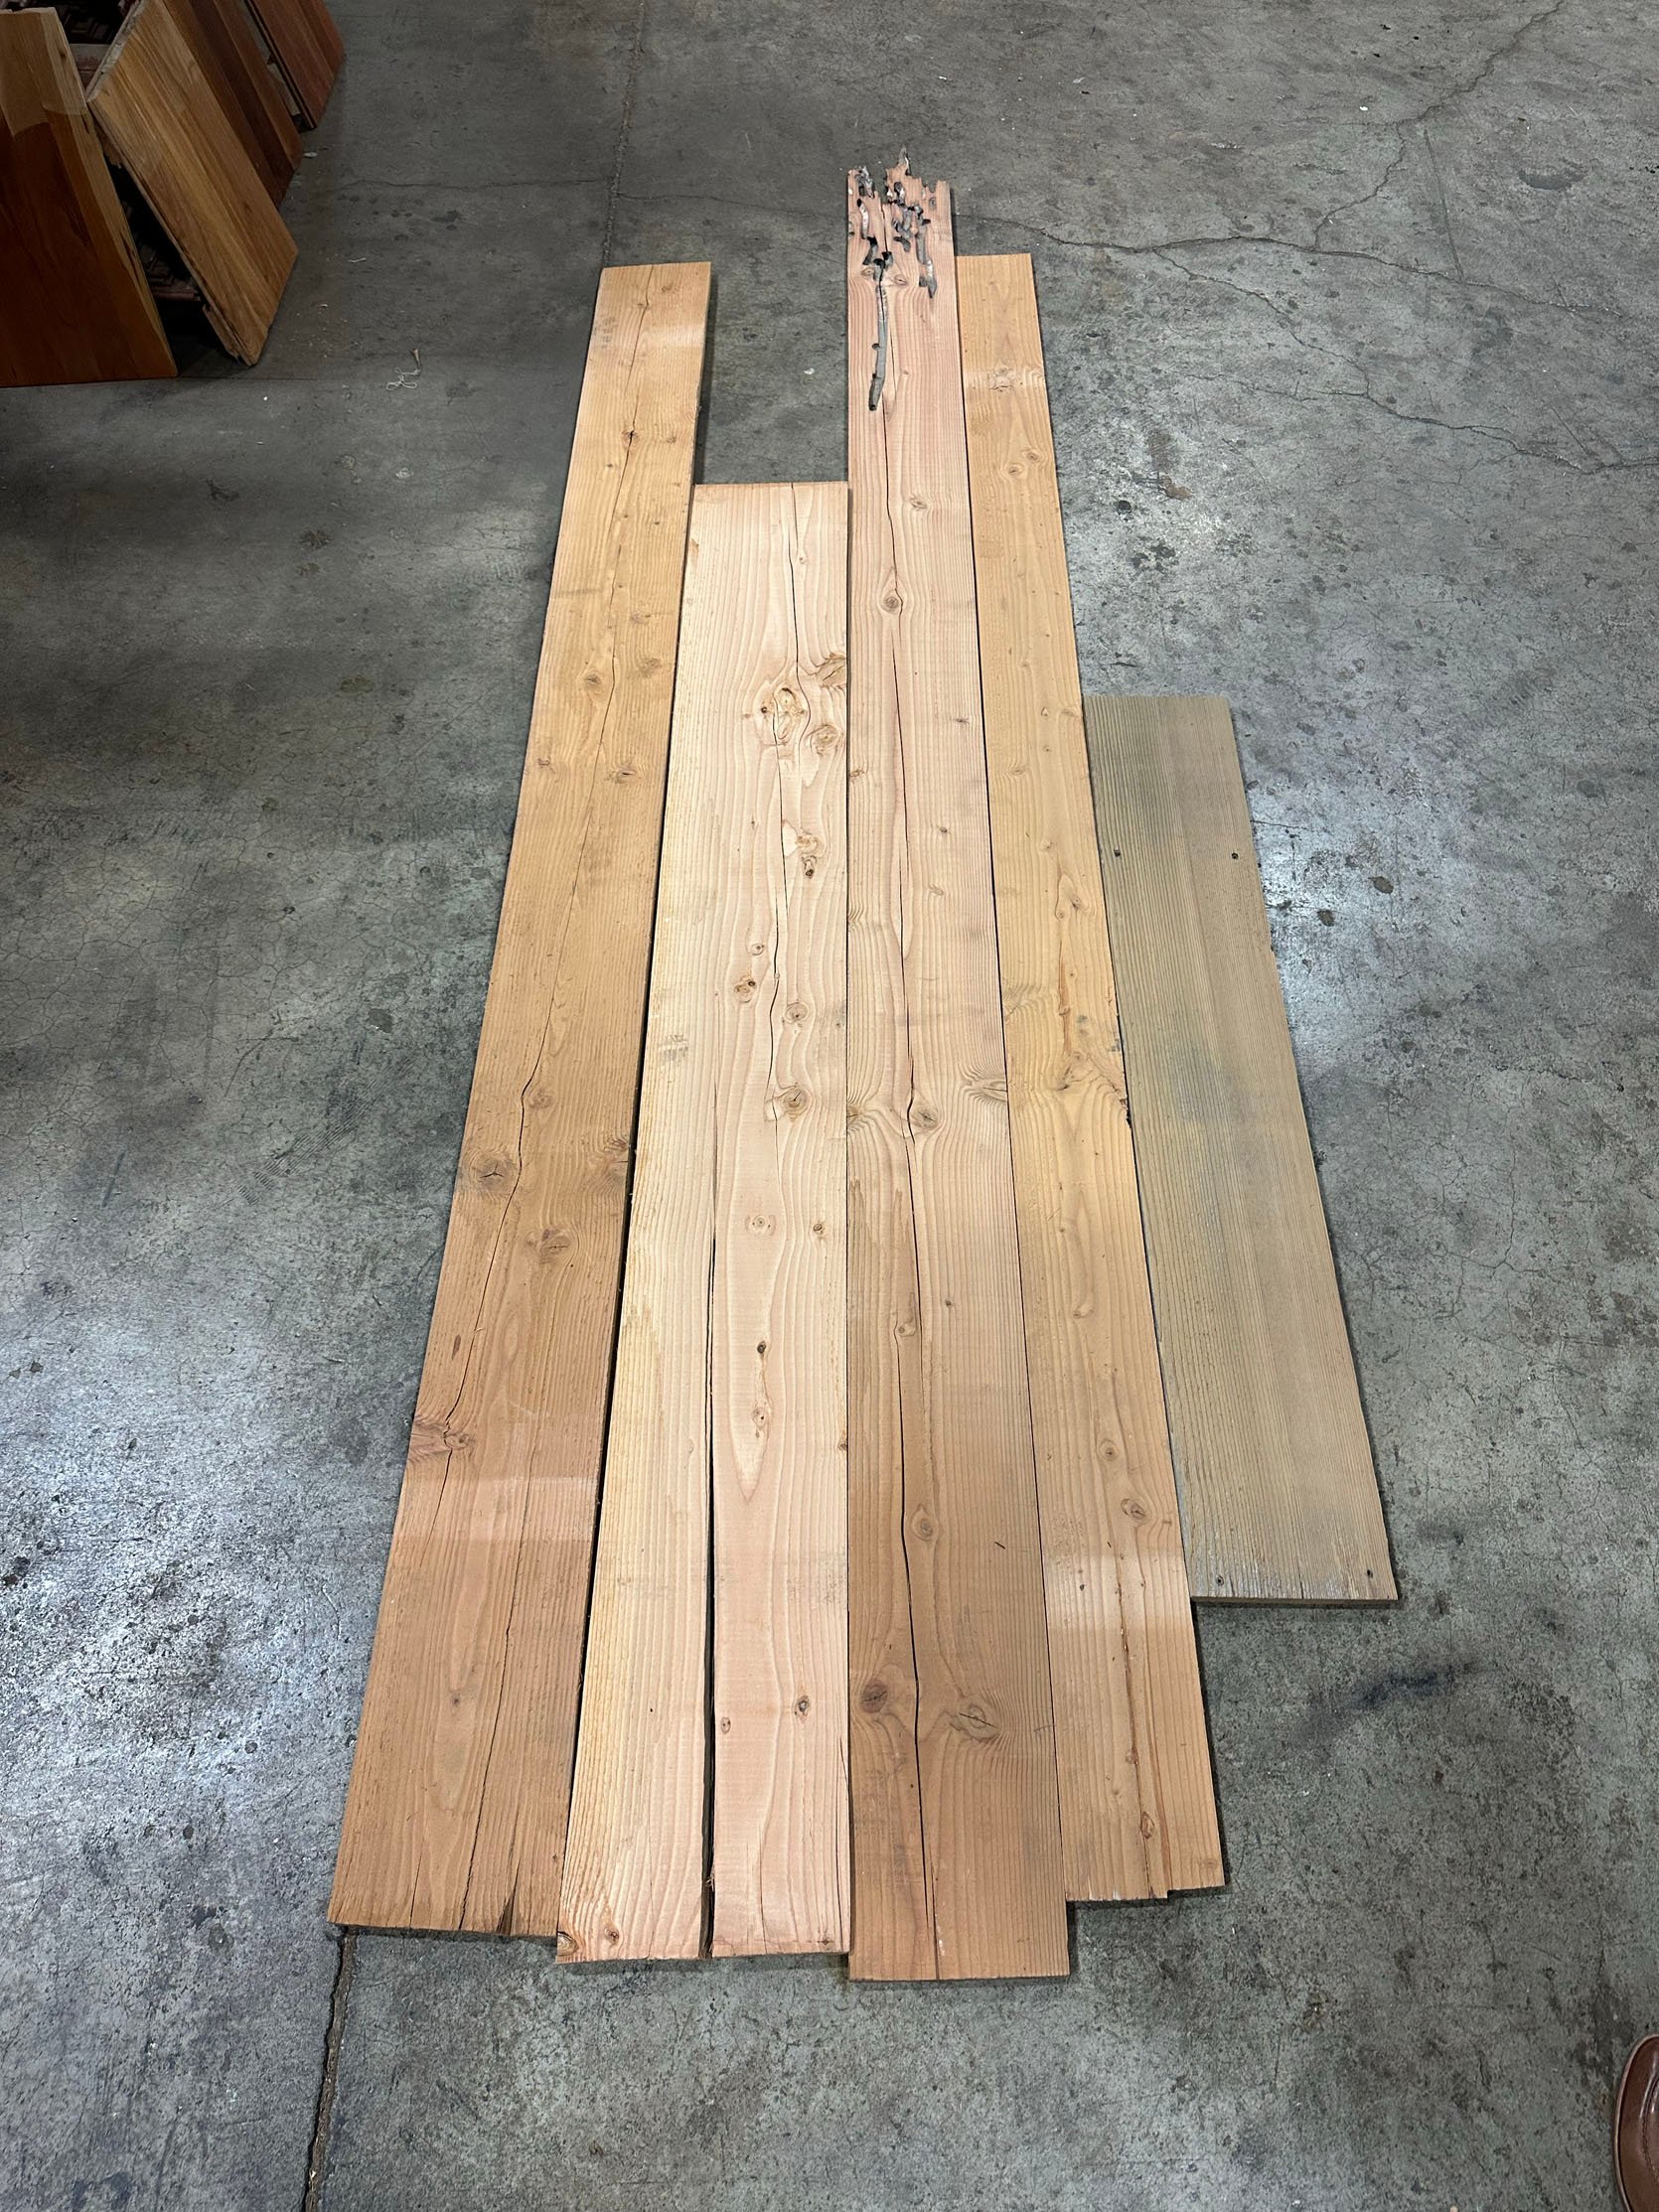
There was some wood there that I absolutely fell in love with, but not enough square footage to meet our needs (although the one on the right was very beautiful!). Other woods we liked would need to be sanded and leveled, which is what we are considering, but that increases the cost. When we first went in, we didn’t know if we needed 600 or 750 square feet, so it was an information-gathering session.
We pulled all these boards together, we thought maybe we could dress them and then stain them the same way, so they had a little uniformity (the grain was really beautiful), and that’s still something we’re considering.
In general, like everything in life, what I was most attracted to was the most expensive ($8-$10 per linear foot), which will definitely add up. But listen, drywall is not on the table here, so it’s either reclaimed or new wood, and no, I want this room to be completely wood instead of panel and paint (which would be cheaper). I’m tempted to do what we did in the garage and art barn (just pine tongue and groove), but this seems like a less interesting option.
I’ve given Toby (McGee Salvage) our quantities now and am hoping he can sort out what he has and give us some options. And then I hope those options make economic sense. If so then I am willing to spend the money on wood WonderfulBut not if it’s just “good”. One advantage of reclaimed is that I think Brian and I can wear it ourselves because reclaimed is more forgiving than new paneling – it already has awkward cuts and lots of nail/screw holes, so mistakes are easily hidden (I think Brian and I would be experts in those).
So as of now, I don’t have perfect options for you, but I’m also curious to know if any of you have experience with this or sources that have similar amounts of what we want (on the walls makes sense – not 2″ reclaimed old gym flooring). I just want to be inspired by the beauty of wood, not “ok great, yes we can see if we can make that work”. So while uniform volume is important, the richness of the grain and color of the wood is really important to me. Any insight or thoughts are greatly appreciated.
Gopi Krishna is the founder of GearUpK, a kitchen gadgets and lifestyle blog based in Bangalore. Passionate about smart cooking solutions, he shares reviews, guides, and tips to help readers upgrade their kitchens with the latest tools and trends.