

Ghee is clarified butter which is an integral part of Indian cuisine since many years. Ghee is known for its rich aroma, golden color, and numerous health benefits. Ghee is the yield of simmering butter in low heat after discarding the milk solid residue that has settled to the bottom. Recipe includes how to make Ghee with step by step pictures and video.
Homemade Ghee has a high smoke point, making it ideal for cooking, frying, and tempering Indian dishes. It is also popularly used in sweets, festive foods etc. When stored properly in a clean, dry container, ghee remains fresh for months without refrigeration.
Jump to:
About Homemade Ghee
Ghee is made by simmering butter, the stage when it becomes liquid gold and when the milk solids have browned and settled at the bottom it denotes that we have made the perfect flavoured, tasty, right nutty ghee.
Ghee is clarified butter which is further simmered to get devoid of milk solids. Clarified butter is a stage of ghee when milk / water is just evaporated to get liquid fat which will include milk solids.
The ideal method to make ghee at home is to make from butter. Homemade butter is preferred, else store bought butter can be used. It has a high smoke point which makes it perfect for cooking, stir frying and deep frying.
Another amazing fact about ghee is that it lasts long – really long. Ghee has longer shelf life next to honey! Ghee need not be refrigerated and it could last about a year though the fresh flavour fades with time.
Ghee has to be stored in an air tight jar to retain the flavour & taste till the last drop. However it gets over in a month or so when we make ghee with 250 grams of butter because of its taste & flavour – everyone can vouch it!
Homemade Ghee Video
Homemade Ghee Ingredient
Ghee can be made in multiple ways though the main source is butter.
- From cream: Fresh cream or cultured cream is heated to produce caramelized flavoured ghee.
- From butter: Butter is simmered for about 15-20 minutes to produce aromatic, nutty flavoured ghee
Ghee Price
Ghee Price and Butter Price is more or less the same – Ironically store bought ghee is sometimes cheaper than store bought butter.
Making ghee is cheaper, tastier and flavourful when you get milk (full cream milk from milk vendor which is raw & not processed), collect the malai for about a week or 10 days, churning & separating butter and then simmering it to ghee!
The next best option is to get butter and make ghee. You can be assured that the ghee is ghee (pure in commercial terms & not mixed with vanaspati).
Ghee Benefits
- Very unlikely to catch cold, cough in winter as Ghee helps you keep warm from within.
- Good for the heart as Ghee is good fat.
- Helps for a glowing skin & treat burns.
- Ghee enhances the taste of the food
- Ghee is sattvic food
- Weight loss as Ghee burns the other fats in the body
- Ghee helps in cleansing the body of harmful & toxic elements
How to make Ghee Step by Step
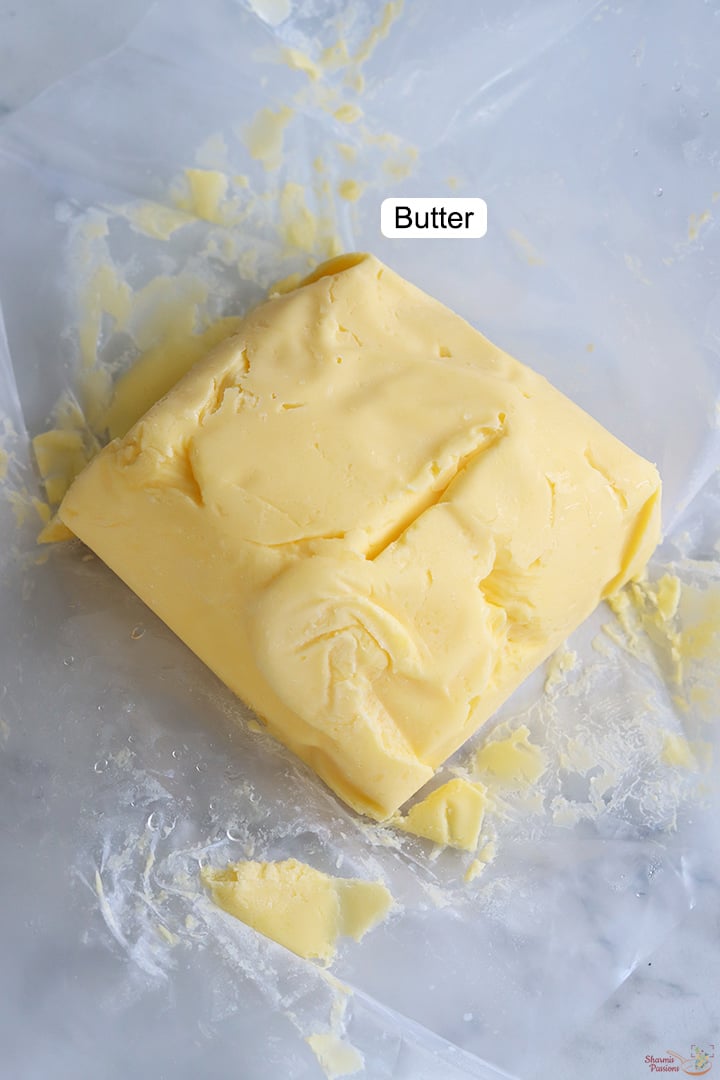
Melting butter
1.To a kadai or thick bottomed kadai – add butter. I used 250 gms store bought butter this time. When I use storebought butter I buy 250 gms, melt it which lasts me for about 15-20 days. But mostly I use homemade butter made from collecting malai for about 15 days.

2.Keep in low flame and let it melt slowly.

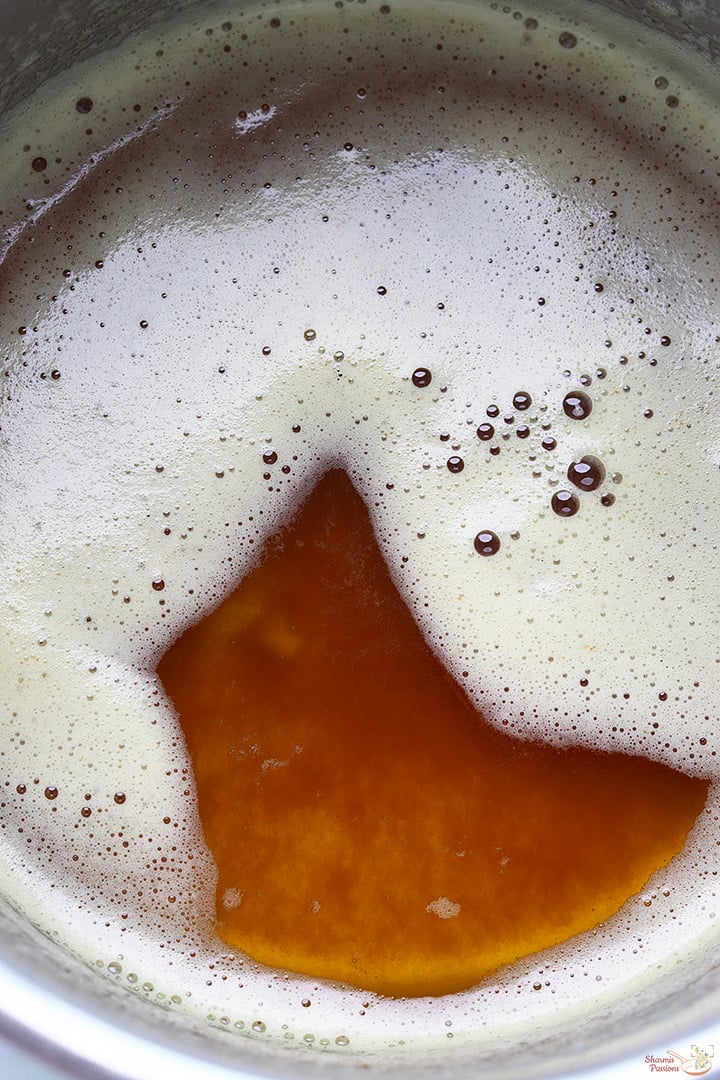
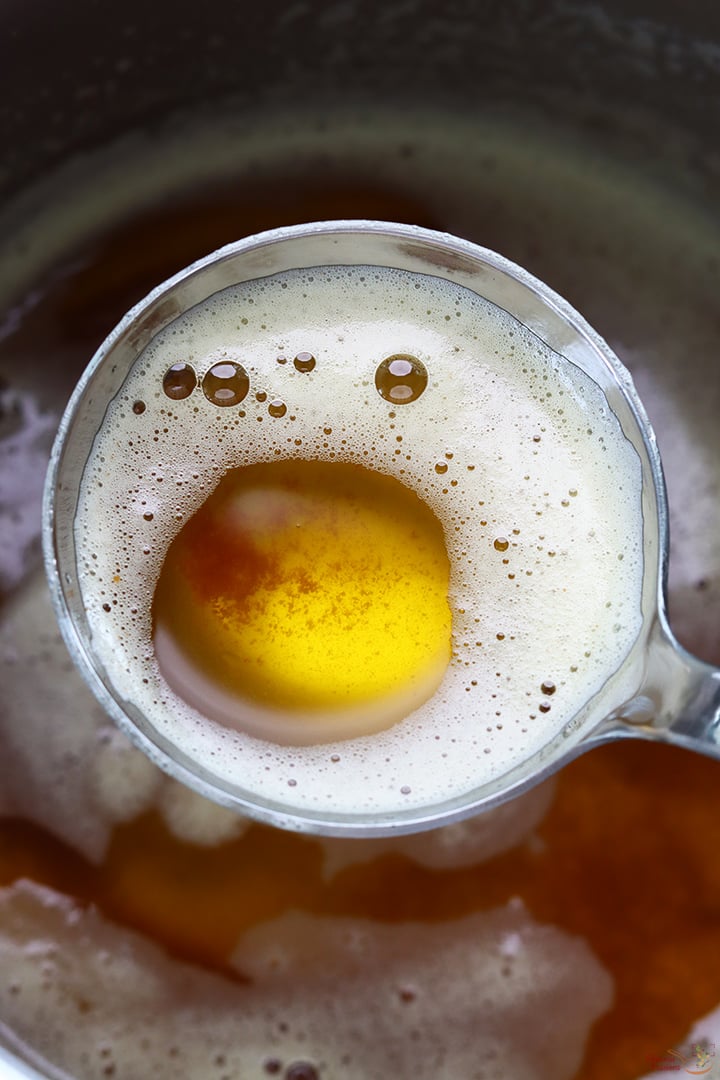
3.Once completely melted it starts to bubbles up. Stir in between to avoid burning. It will be frothy.

Cooking in low flame
4. The froth slowly changes and milk solids starts to seperate.

5.Cook in low flame. You can see the color change from buttery frothy milky white to light golden.

6.See the milk solids are seperating. But the milk solids are still ivory in color. Keep stirring in between.

7.It will bubble up and the milk solids go collect at the bottom. The top surface will look clearer as seen below.

Milk solids seperate
8.The milk solids are still light golden. This means you should cook for few more minutes.
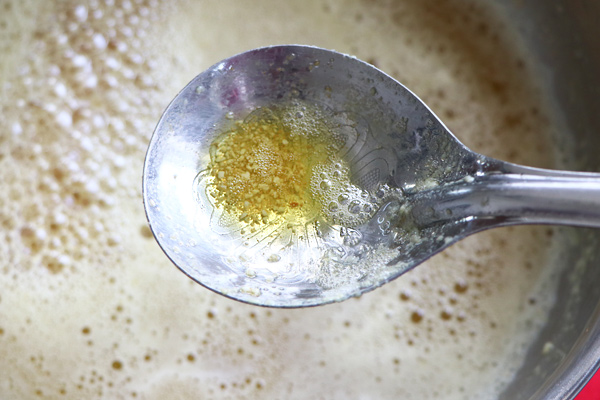
9.Cook in low flame until the milk solids are golden in color. Check by stirring at the bottom. You should be very careful after this stage as it gets to brown / burn easily so be attentive and keep an eye.

Flavouring
10.Now add few of fresh curry leaves or rock salt or a small sprig of moringa leaves for flavour. This step is purely optional but gives more shelf life with a great flavour.

11.Cook for 1 more minute. Switch off.

12.The milk solids are now fully caramelised and turns brown in color as shown below. Switch off at once.

Straining
13.Immediately strain using a metal strainer. You can mix this with rice and have it or eat just the curry leaves alone tastes so good.

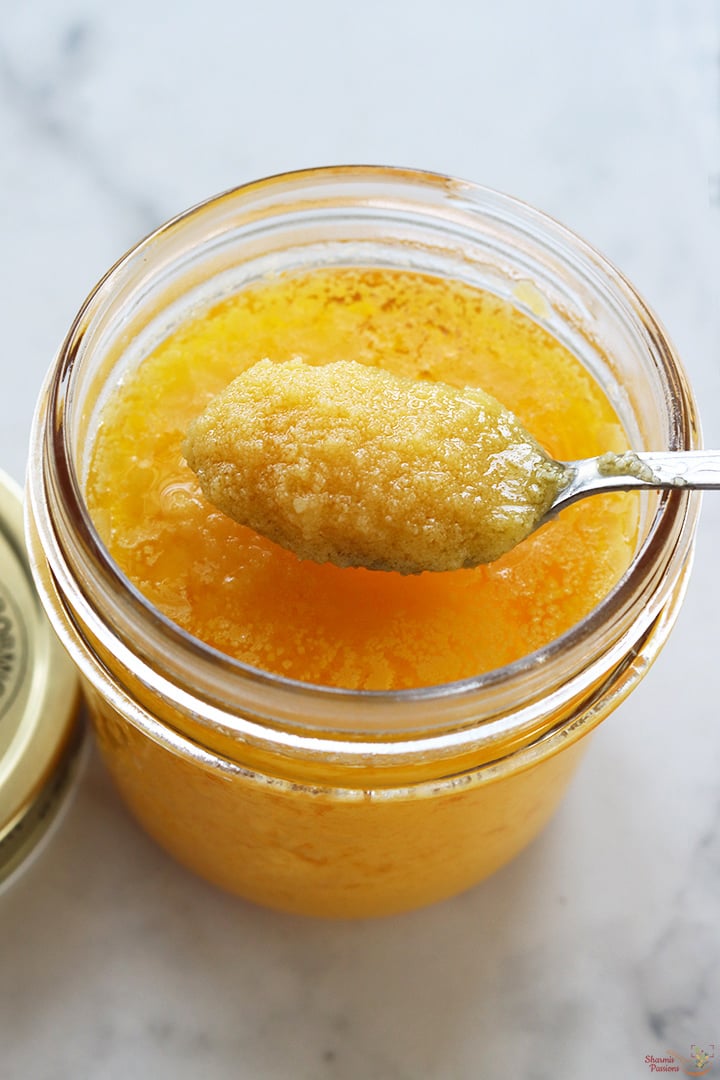
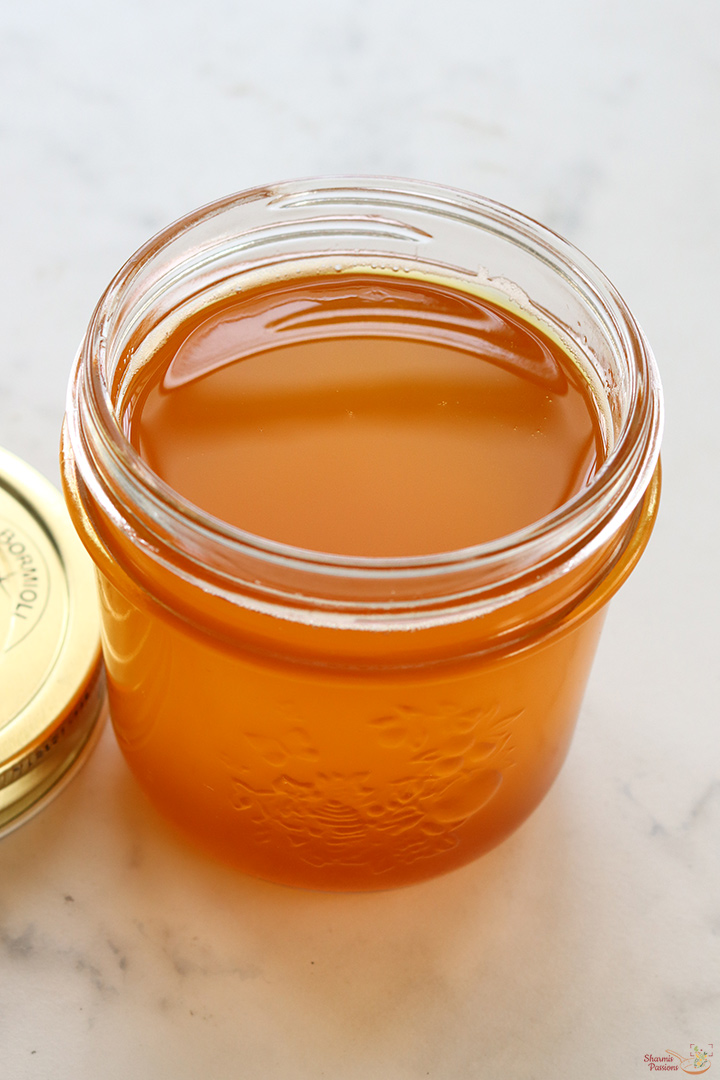
Ghee ready!
14.Homemade ghee is ready. Cool down then store. I usually store it in a glass jar in bulk then take just enough ghee in a small container to place it in kitchen for daily use. Store the rest in a cool spot and use whenever needed.
If adding to glass jar make sure it is heat resistant else cool down then store.

Always use a clean dry spoon everytime you take ghee.
Expert Tips
- Flame to use – Do the whole process in low or medium low flame to avoid burning.
- Seasoning – You can use rock salt or curry leaves or drumstick leaves dipped in buttermilk and add it at the last stage for residue to completely bottom out.
- Residue – The residue can be mixed with rice and had, it will be very tasty. You can even add roasted wheat flour with nuts to make atta ladoos.
- Butter – I took the butter straight from the fridge so cooked in low flame else it will start burning. You can use homemade butter or store bought ones,
- Cooking ghee – If ghee is not cooked properly, it will give raw flavour so be patient and cook in low flame.
- Storing – Always use a clean, dry spoon to take ghee to prevent contaminating and to retain flavour.
Serving & Storage
Use ghee for tempering, sautéing, roasting, or frying. Serve drizzled over hot rice, dal, khichdi, rotis, idli, dosa, or vegetables. Ideal for Indian sweets like halwa, ladoo, mysore pak, and payasam.
Store ghee in a clean, dry, airtight glass or steel container. Keep at room temperature in a cool, dry place away from sunlight. Always use a dry spoon to prevent moisture contamination.
FAQS
1.It looks like overcooked ghee, is it good to consume?
Over cooked ghee if it is dark brown in color is fine to consume, however it might not be as flavourful as the right cooked one. You can avoid overcooking by using heavy bottomed vessel, simmering in low heat and switching of stove once the milk solids gets to the bottom.
2.Can I make ghee from cream?
Yes – You can make ghee from cream by heating for a longer time or with very high temperatures (like the one from large ghee manufacturing company). The best alternate at home to make from cream is to add drops of curd to cream and allow it to rest overnight (curdling). The next day, churn or blend to separate butter and then make ghee as prescribed in the recipe. Direct beating / blending of cream will not yield butter – hence curdling process is important.
3.Do I need to strain / filter the milk solids from ghee?
I would prefer to strain and use ghee for long term shelf life and great flavor. THe milk solids residue can be mixed with rice and had.
4.Is ghee good for health? Will I gain weight or add fat to body?
Ghee is an excellent source of good fats and regular consumption of ghee helps in removing toxins out of the cells, which improves metabolism and when your metabolism is fast, you lose weight.
5.What is A2 ghee? Bilona ghee?
The Ghee made using the milk of our native indigenous cows is mostly referred to as the A2 Ghee. Do you know – Indian variety of cow is more nutrient & vitamin rich than any other breed.
Bilona Ghee – Bilona is the traditional process of separating butter using wood churner from milk after curdling – Ghee made from the butter of this process is Bilona Ghee.
If you have any more questions about this Ghee Recipe do mail me at sharmispassions@gmail.com. In addition, follow me on Instagram, Facebook, Pinterest ,Youtube and Twitter .
Tried this Ghee Recipe? Do let me know how you liked it. Also tag us on Instagram @sharmispassions and hash tag it on #sharmispassions.
📖 Recipe Card
How to make Ghee | Ghee Recipe
Ghee is clarified butter which is an integral part of Indian cuisine since many years. Ghee is known for its rich aroma, golden color, and numerous health benefits. Ghee is the yield of simmering butter in low heat after discarding the milk solid residue that has settled to the bottom. Recipe includes how to make Ghee with step by step pictures and video.
Ingredients
- 250 gms butter
- curry leaves or rock salt or drumstick leaves optional
Instructions
-
To a kadai or thick bottomed kadai – add butter. I used 25- grams store bought butter this time. When I use store bought butter I use 250 grams and melt it which lasts for me for about 15-20 days. But mostly I use homemade butter made from collecting malai for about 15 days.
-
Keep in low flame and let it melt slowly.
-
Once completely melted it starts to bubbles up. Stir in between to avoid burning. It will be frothy.
-
The froth slowly changes and milk solids starts to separate.
-
Cook in low flame. You can see the color change from buttery frothy milky white to light golden.
-
See the milk solids are separating. But the milk solids are still ivory in color. Keep stirring in between.
-
It will bubble up and the milk solids go collect at the bottom. The top surface will look clearer.
-
The milk solids are still light golden.
-
Cook in low flame until the milk solids are golden in color. Check by stirring at the bottom. You should be very careful after this stage as it gets to brown / burn easily so be attentive and keep an eye.
-
Now add few of fresh curry leaves or rock salt or a small sprig of moringa leaves for flavour. This step is purely optional but gives more shelf life with a great flavour.
-
Cook for 1 more minute. Switch off.
-
The milk solids are now fully caramelized and turns brown in color as shown below. Switch off at once.
-
Immediately strain using a metal strainer. You can mix this with rice and have it or eat just the curry leaves alone tastes so good.
-
Homemade ghee is ready. Cool down then store. I usually store it in a glass jar in bulk then take just enough ghee in a small container to place it in kitchen for daily use. Store the rest in a cool spot and use whenever needed. If adding to glass jar make sure it is heat resistant else cool down then store.
-
Always use a clean dry spoon everytime you take ghee.
Video
Notes
- Flame to use – Do the whole process in low or medium low flame to avoid burning.
- Seasoning – You can use rock salt or curry leaves or drumstick leaves dipped in buttermilk and add it at the last stage for residue to completely bottom out.
- Residue – The residue can be mixed with rice and had, it will be very tasty. You can even add roasted wheat flour with nuts to make atta ladoos.
- Butter – I took the butter straight from the fridge so cooked in low flame else it will start burning. You can use homemade butter or store bought ones,
- Cooking ghee – If ghee is not cooked properly, it will give raw flavour so be patient and cook in low flame.
- Storing – Always use a clean, dry spoon to take ghee to prevent contaminating and to retain flavour.
Nutrition Facts
How to make Ghee | Ghee Recipe
Amount Per Serving (25 g)
Calories 90
Calories from Fat 90
% Daily Value*
Fat 10g15%
Saturated Fat 6g38%
Trans Fat 0.4g
Polyunsaturated Fat 0.4g
Monounsaturated Fat 3g
Cholesterol 27mg9%
Sodium 80mg3%
Potassium 3mg0%
Carbohydrates 0.1g0%
Fiber 0.03g0%
Sugar 0.01g0%
Protein 0.1g0%
Vitamin A 350IU7%
Vitamin C 20mg24%
Calcium 7mg1%
Iron 0.01mg0%
* Percent Daily Values are based on a 2000 calorie diet.